To ensure that your emails are being scheduled according to your preferred time, it's crucial to set your time zone accurately. This guide will walk you through the steps to change your time zone.
- Access Your Account Settings Log in to your account, and on the top right menu, click on the Account option. Select Users from the drop-down menu.
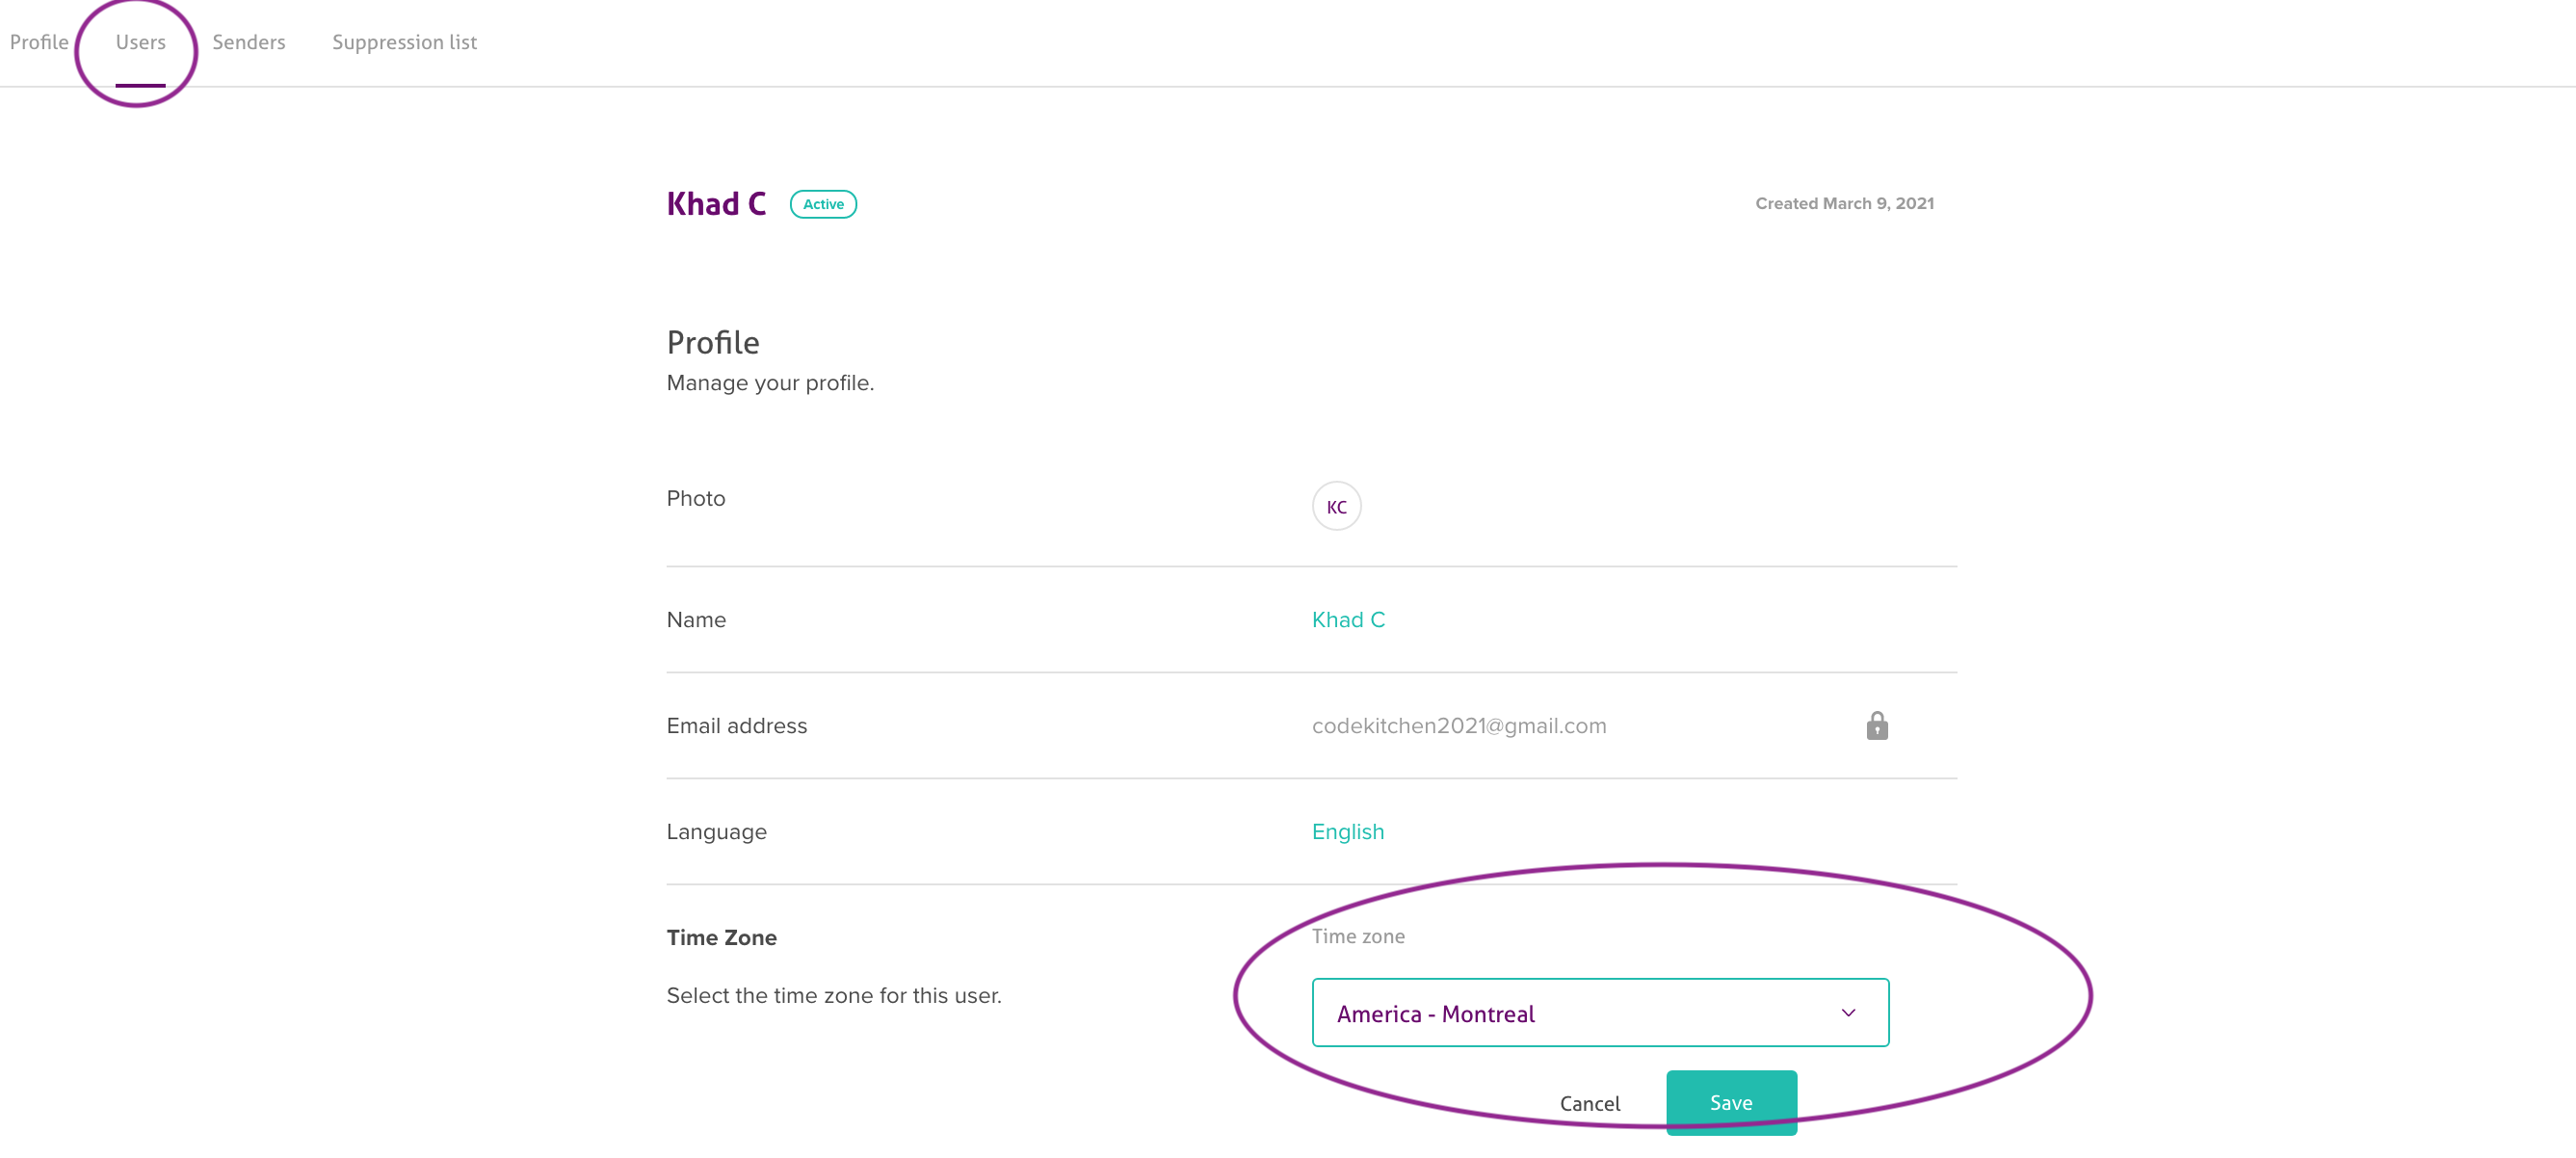
- Choose the User On the Users page, find the user account whose time zone you want to change. Click on their name or the Edit button next to their name.
- Adjust Time Zone On the user settings page, you will see an option to adjust the time zone. Click on the drop-down menu, and select your preferred time zone from the list of available options. Select the correct time zone to ensure your emails are sent at the right time.
- Save Changes Once you have selected the correct time zone, click on the Save button to apply the changes to the user's account.
It's important to note that changing your time zone will only affect your account's scheduling time, not the recipient's time zone. It's advisable to consider your target audience's time zone when scheduling your email campaigns.
Setting your time zone accurately is an important step to ensure your email campaigns are scheduled according to your preferred time. By following the simple steps outlined in this guide, you can easily adjust your time zone to match your location and schedule your email campaigns with ease. Remember to consider your target audience's time zone to ensure that your emails are sent at the most appropriate time for them.