Manual tasks can be performed by this tool automatically, with a single work platform that synchronizes with existing conditions and activities. With automation, for example, you could set up a welcome email to be sent a few seconds after a contact signs up for a subscription form linked to a list.
The following is shown in this guide:
- The ability to access and manage automations.
- A description of this tool's functions.
Why this is important
Automation can increase efficiency, productivity, accuracy, and reduce errors when done correctly.You will be able to better manage your work system with it because you will have a clearer overview of it.
Managing Automations
Here are the steps you will need to take to access, create and manage your automations:
- 1. In your account, click on Automations.

- 2. To
- Alternatively, you can create it from the Create button.
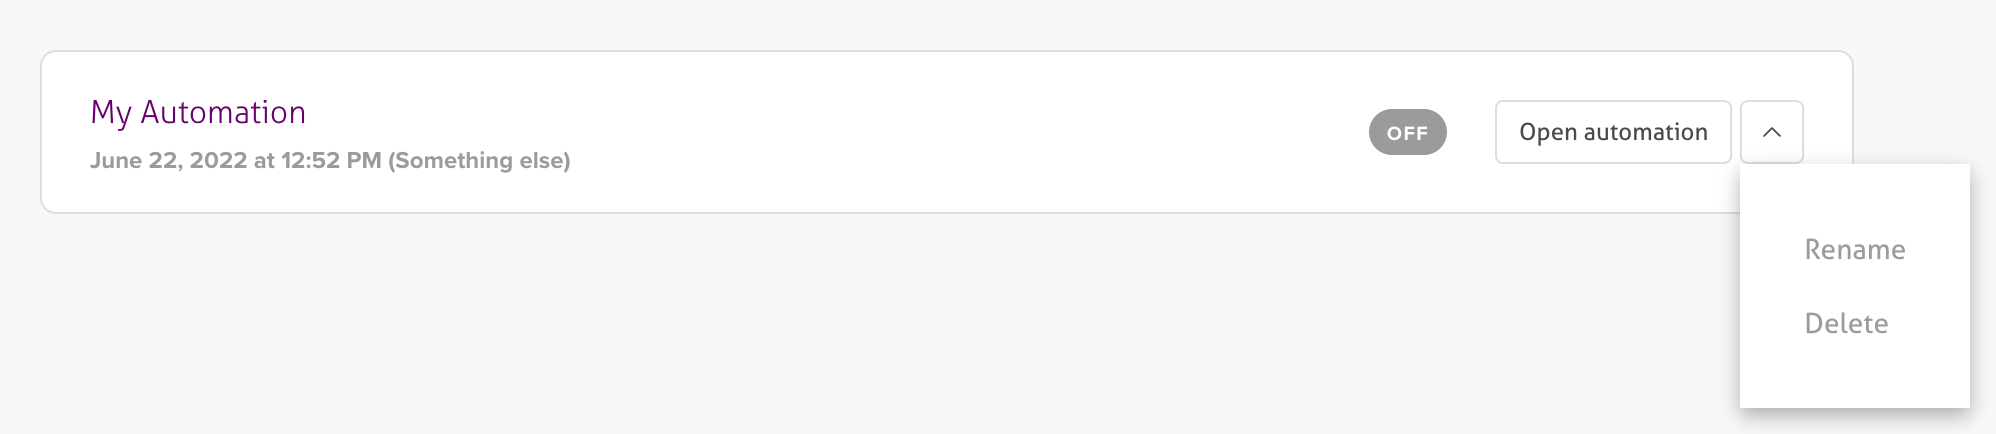
- If you already created an automation, it will also be found here.You can open, rename or delete it.
- If you already created an automation, it will also be found here.
- You can open, rename or delete it.
Edit automation page
In this page, you will see how your automation flows from top to bottom in a structured manner with each step represented with interconnected blocks.
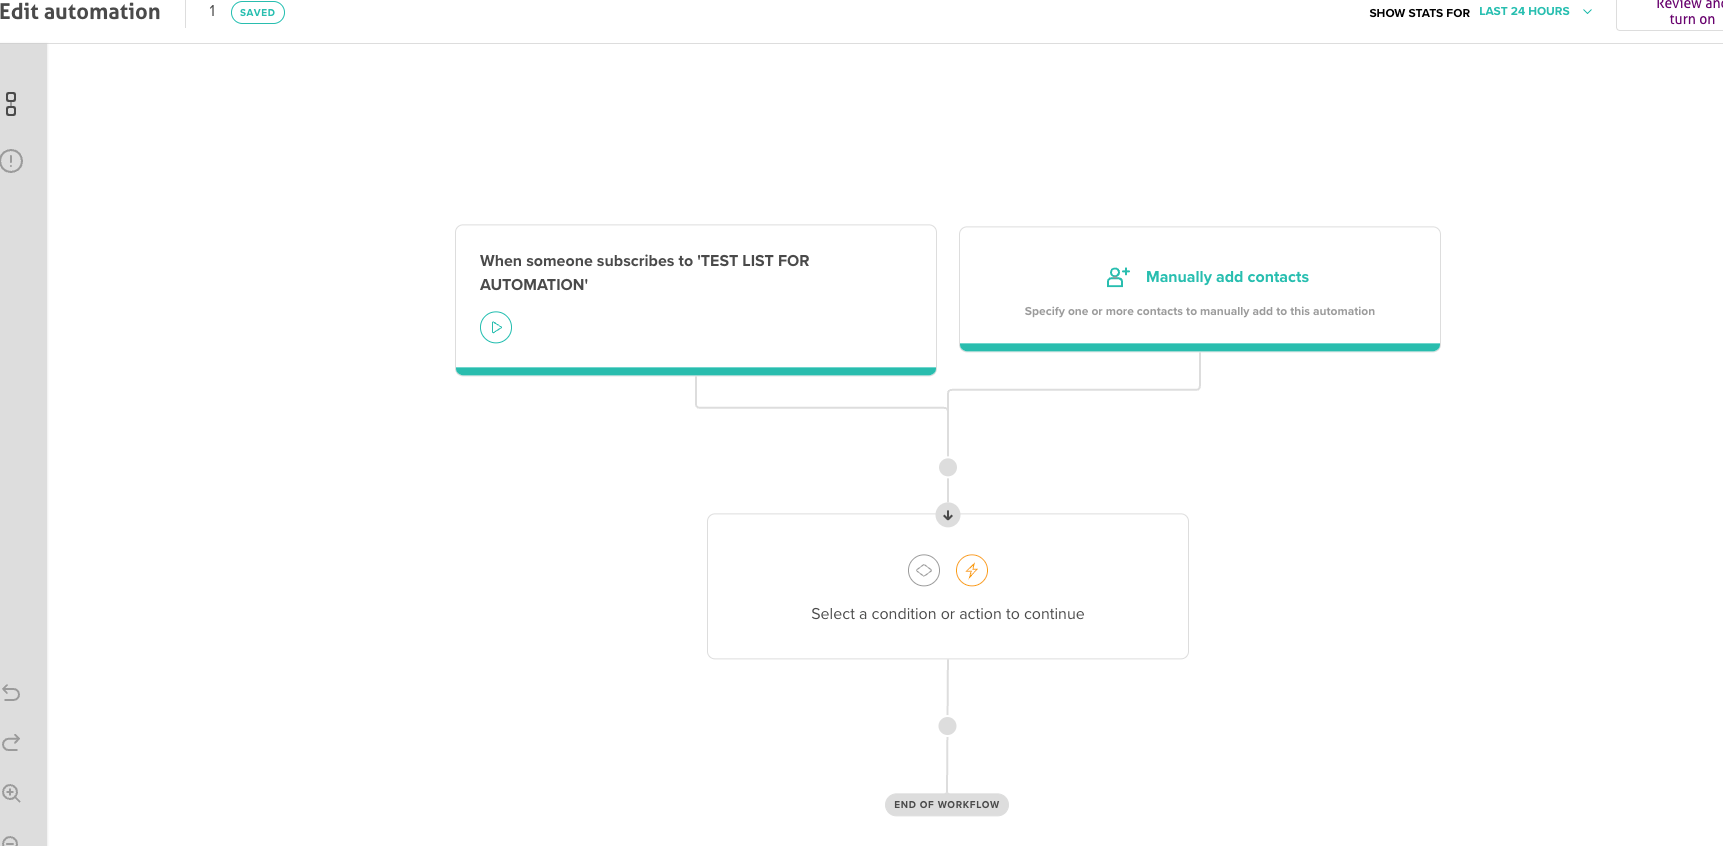
Here you can:
- Manually add contacts to the automation.
- Show the automated campaign stats during a specific timeframe
- Edit the workflow.
Editing an automation
There are two types of steps when editing/creating a flow:
- ConditionsActions
- ConditionsActions
- Conditions
- Actions
Select Condition
A condition can be either a:
Delay: This lets you set a delay in seconds, minutes, hours, days and even in weeks.
If / Else: Depending on wether the contacts match the conditions, they will join the Yes path, otherwise they will go towards the no path.
Paths Split: Your subscribers can be split by using this condition.
Select Action
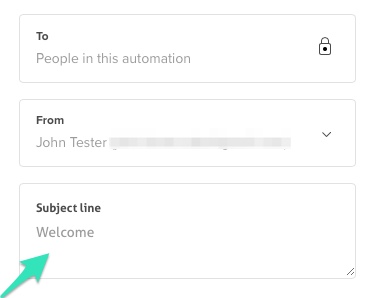
The default action on an automation will be to send an automated email. You can edit the email with the email designer and determine the email's subject line at the deployment settings menu.
Activating an automation
Once you are ready to launch this automation, you can review it and turn it on.

You will be notified if something needs to be fixed before the automation can be activated.
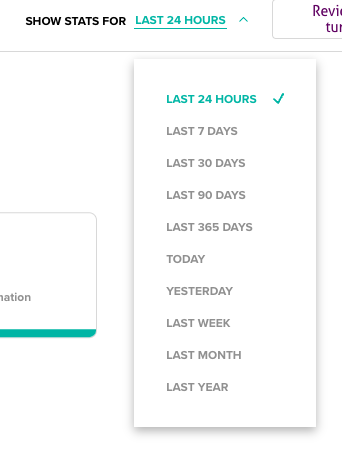
Automation Stats
Click on the scroll down button to choose the timeframe and show the stats of your automation.
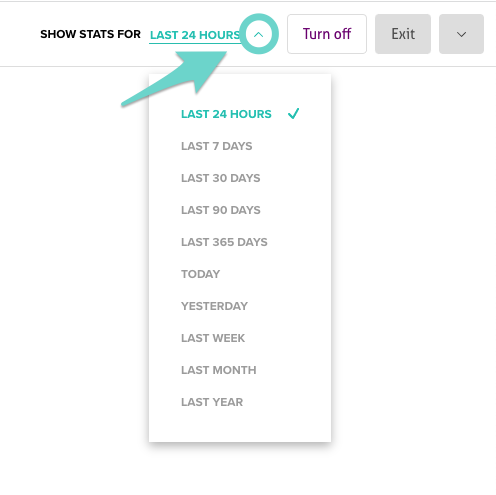

Click on the email to see a more detailed side panel. You can see the Open, Click, Unsubscribe, Delivery and Bounce rates for your email.

The gears are now in motion and the automation is active! You can tweak it to suit your needs.
Duplicate and edit an automation flow
Existing automations need to be duplicated to be modified.
This is how it's done:
- Click the top right down arrow.
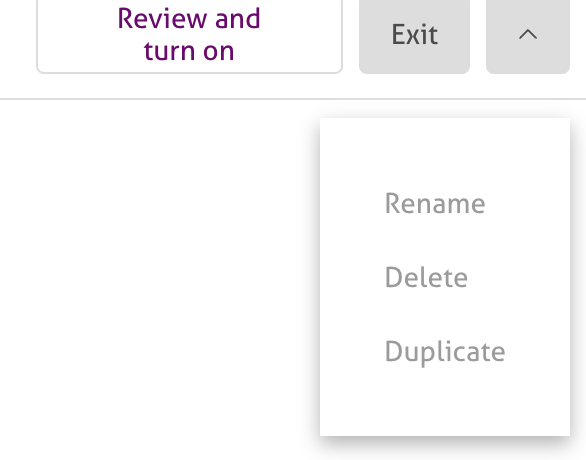
2. Use this menu to Rename, Delete or Duplicate the automation.
If you choose to duplicate it, your automation will be recreated as a copy that you can edit.