Why this is important
To build your brand and be recognizable to recipients, you should choose the correct sender email for your automated confirmation emails.
How to specify the default sender for a list
Follow these simple steps to correctly specify the default sender for your list and its automated confirmation emails:
1. Select the Contacts tab.

2. Choose your contact list from the drop-down menu.

3. Click on the Gear icon to access the menu to manage the list.

4. On your list manager menu, click on the Settings tab.

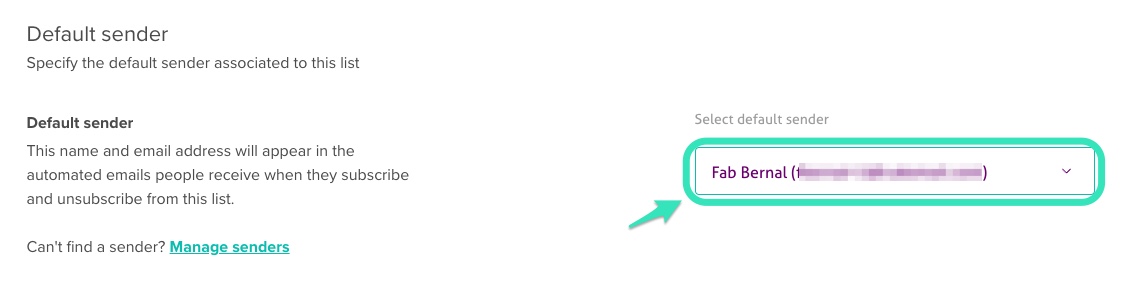
5. Select your sender on the Default sender option.
You can add your sender email if you can't find it in the list by selecting Manage senders.
Add a new sender:
6. Lastly, you can set the list's default language from this menu. Select the Settings tab to set the Default language for the list.
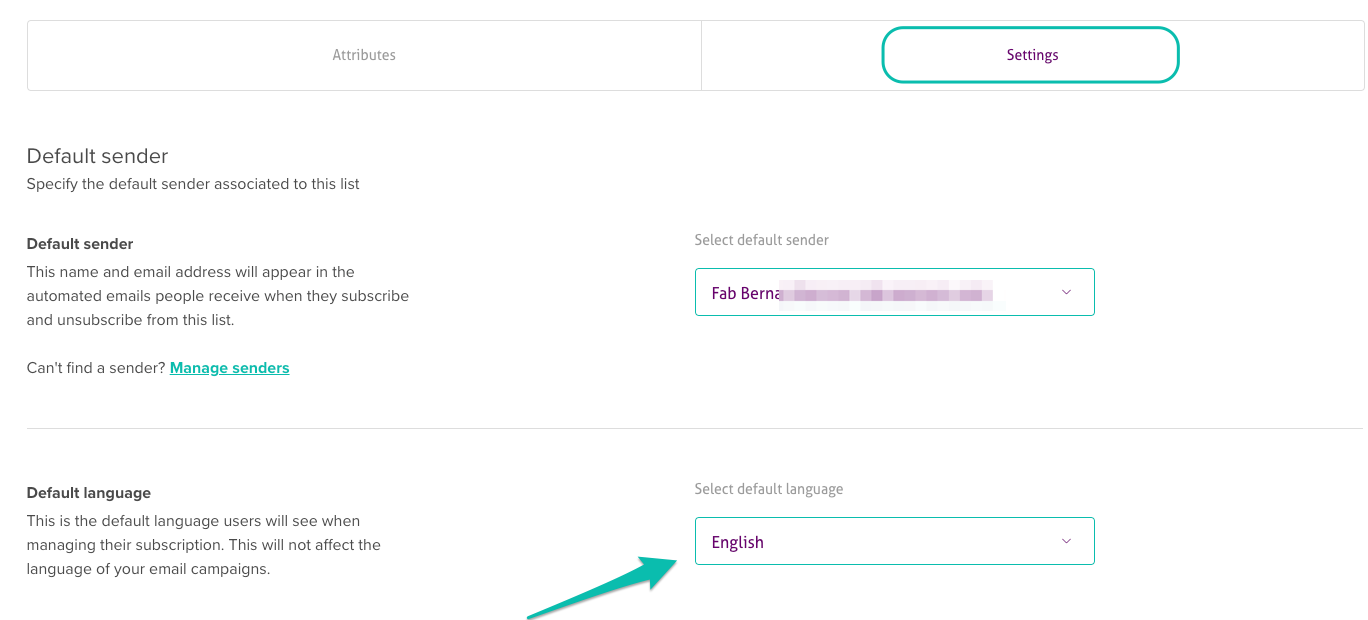
This is the default language users will see when managing their subscriptions. This will not affect the language of your email campaigns.