By using branching conditions in automation, you can select which content to send to contacts who clicked a link in an email versus contacts who did not click that link or clicked another. This article will show you how to set up this conditional automation.
You can make your communications more relevant to your users by sending them different content based on their actions. In turn, this will result in a better experience for them that is more tailored to their needs, and you can use this to improve your automation flow.
How to create an automated email with branching conditions
Here are the steps you will need to take to complete this automation:
- 1. In your account, click on Automations.

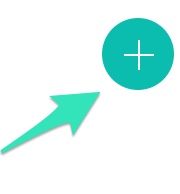
- 2. Click on the + sign on the top right part of the page.
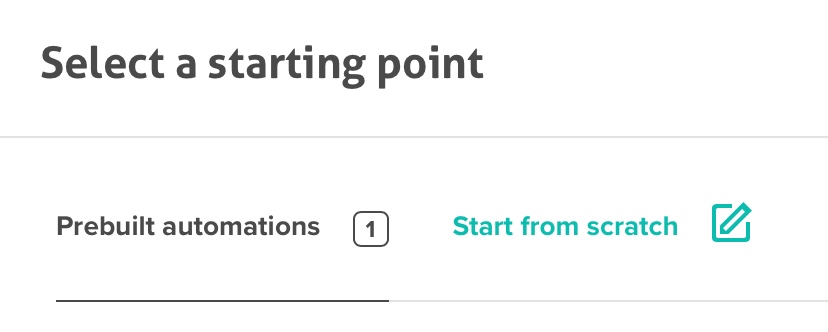
- 3. In the Select a starting point menu, you can use the Prebuilt automation, create a new template from scratch, or use one you already saved.
- 4. Choose the list to which this automation should be linked.

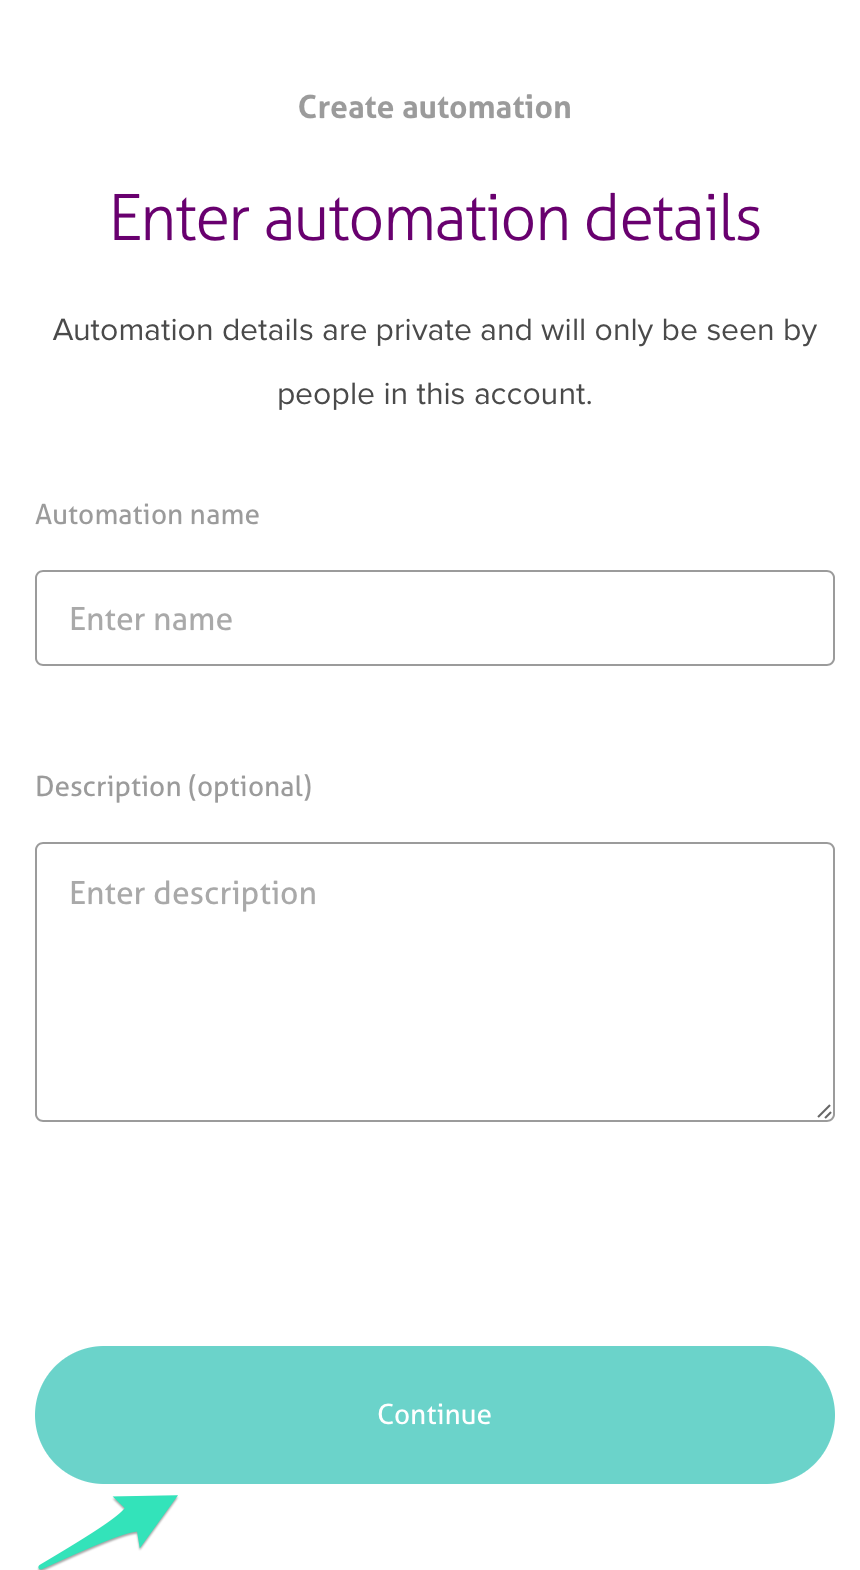
- 5. Choose a name for your automation (this name will only appear within the platform)
- 6. You can select a marketing objective from the list below (so we can make better recommendations for you).

- 7. You will then be on the Flow creation page.
- There are two sub-divisions found here:
- Select conditionSelect action
- Select conditionSelect action
- Select condition
- Select action
Select Condition
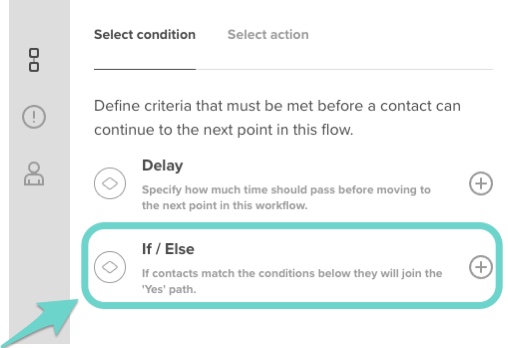
- 1. Click on the + sign to select the condition in the automation flow.
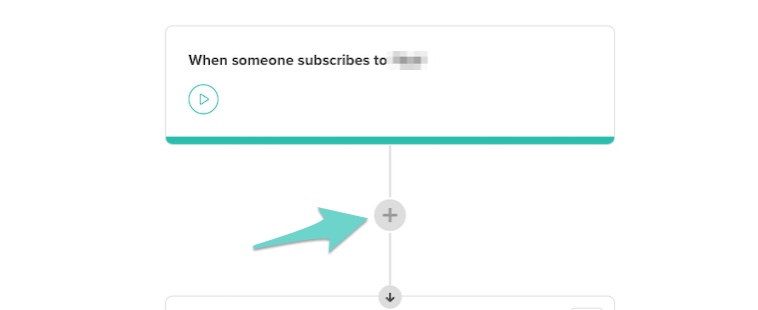
- 2. Select the If / Else to set up the automation with branching conditions.
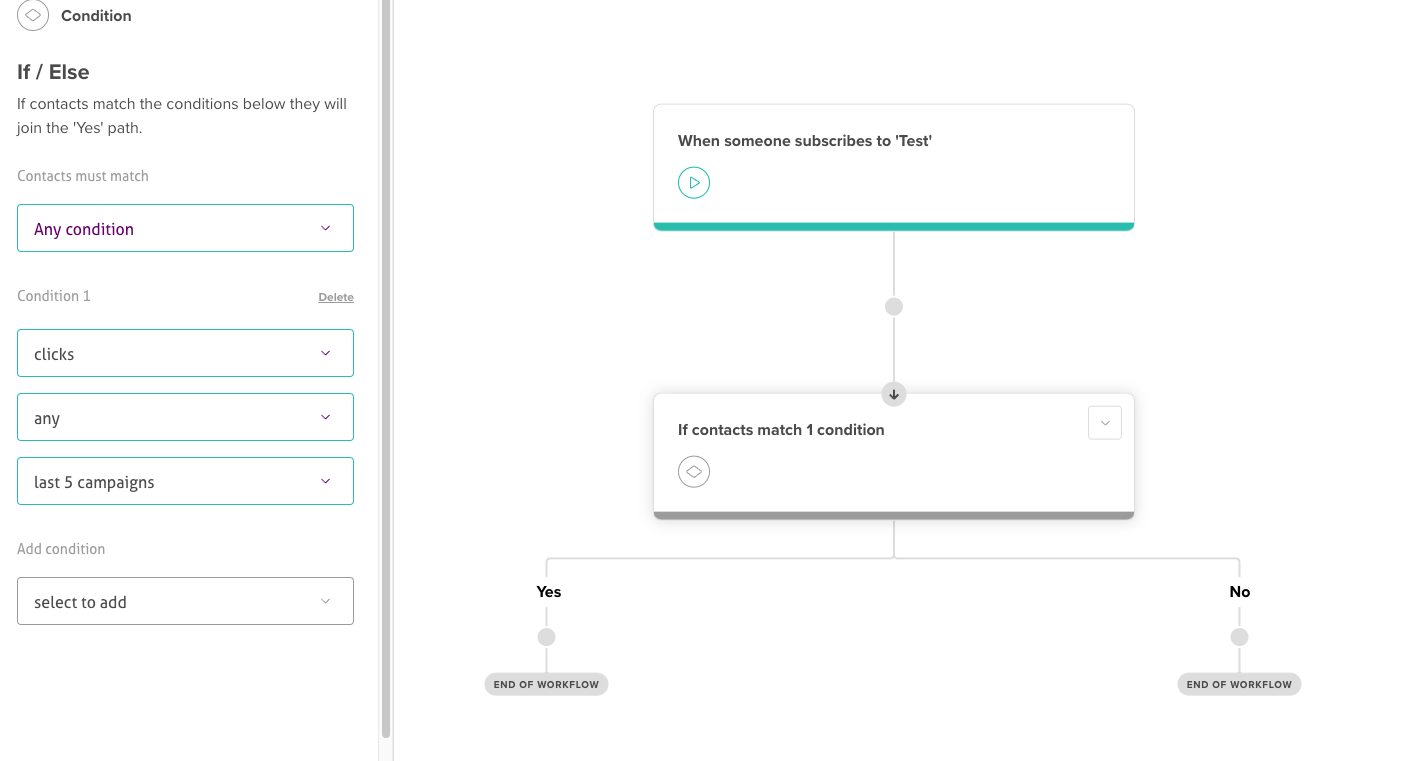
- Depending on the conditions, the contacts can follow a different path in the automation flow.
- Depending on the conditions, the contacts can follow a different path in the automation flow.
Click the toggle button on top if you're in a flow, or go to the Automations page to activate this automation.

You have now completed your automation! Statistics will be gathered for each email in your flow, which you can use to optimize it.