Testing two versions of an email campaign to see which performs better is known as split testing. These variations, called paths A and B, are randomly presented to users. The first version will be shown to a portion and the second version to the rest. This way, you can see which version gets the most clicks, subscriptions, and purchases.
After the results are analyzed, specific predefined indicators, including conversion rates, are used to determine which version, A or B, performed better. This article will show you how to test two versions of an onboarding email with our automation tool.
Some critical recommendations before testing
- You need to understand precisely what you plan to test before you begin your Paths Split test.
- Your goal should be based on a prediction, and you should have metrics that will give you the answers to your question.
- Could I expect a measurable increase if I make this change?
- Every audience member must be randomly placed into a cohort and receive only one version.
How to create automated onboarding emails with an Paths Split test
1. In your account, click on the Automations tab.

2. To create an automation, click on the+sign on the top right of the page.
Alternatively, you can create it from the Create button.

Understanding Email Automation
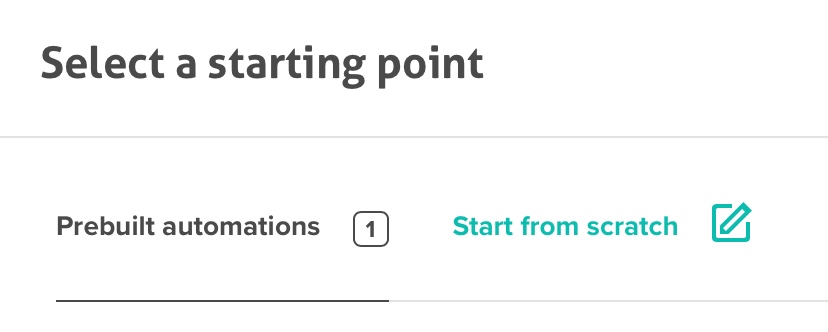
3. In the Select a starting point menu, you can use the Prebuilt automation, create a new template from scratch, or use one you already saved.
4. Choose the list to which this automation should be linked.

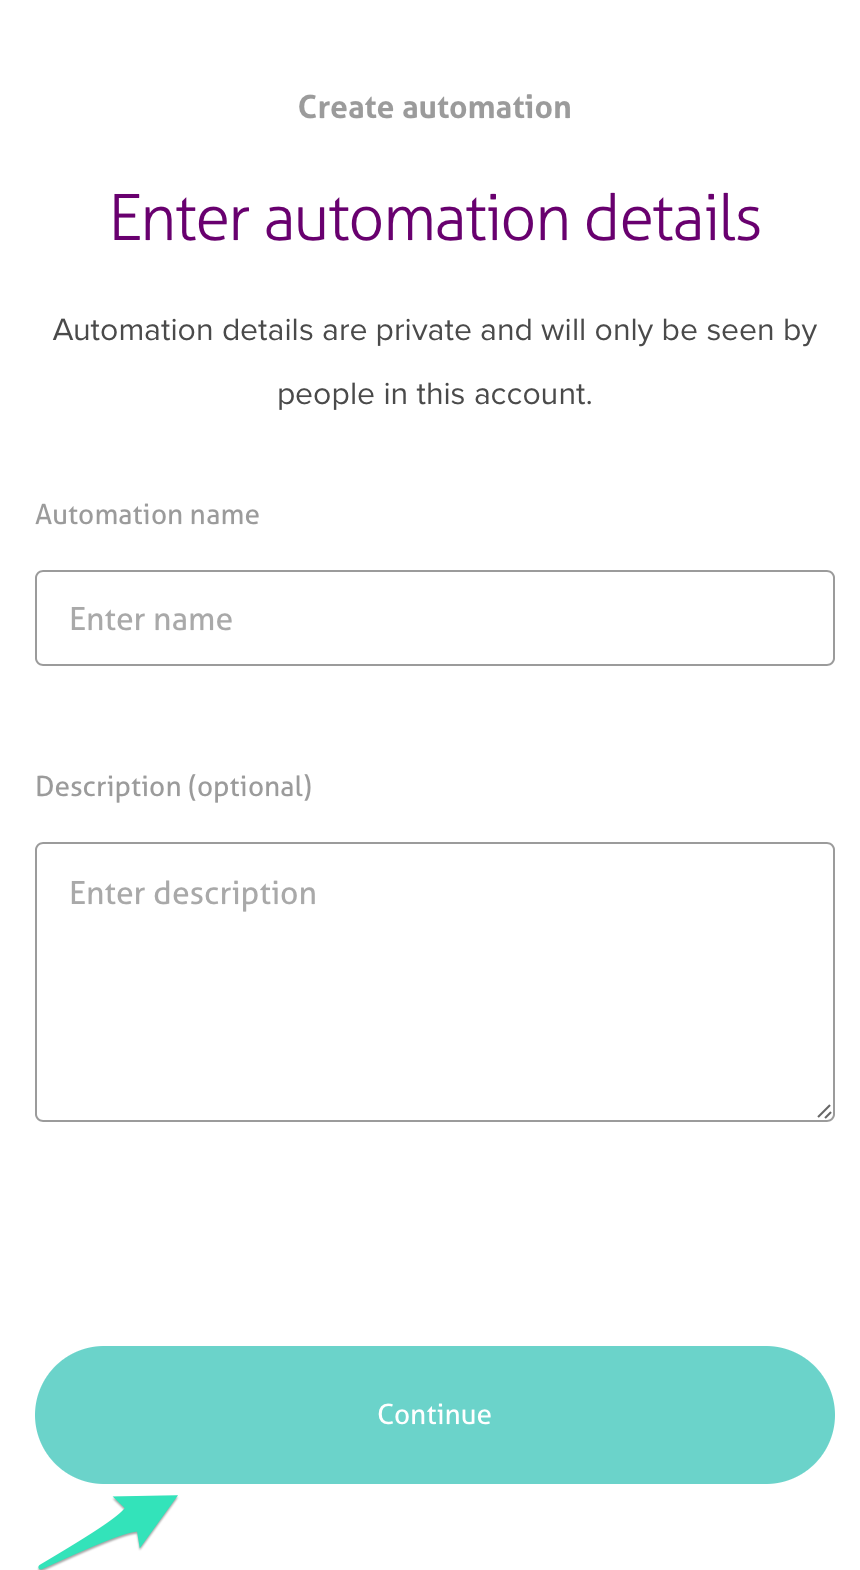
5. Choose a name for your automation (this name will only appear within the platform)
6. You can select a marketing objective from the list below (so we can make better recommendations for you).

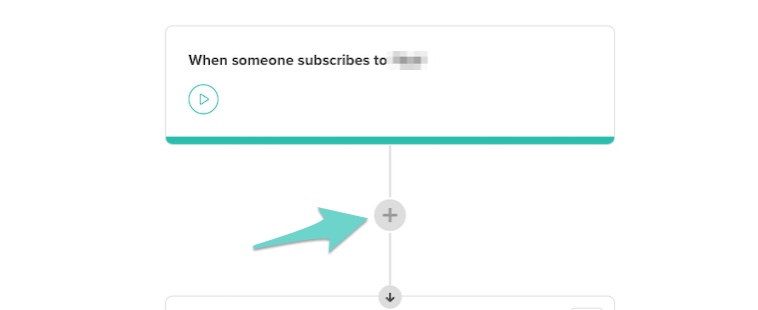
7. You will then be on the Flow creation page. Click on the+sign to select the condition in the automation flow.
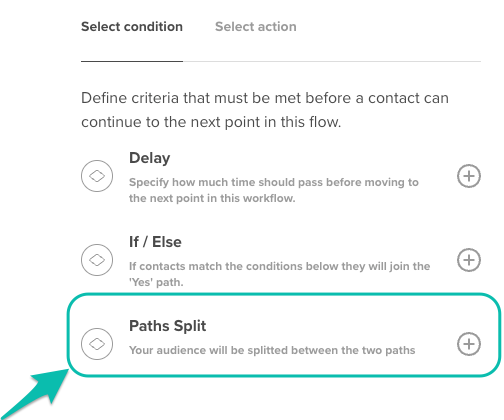
8. Select the condition Paths Split
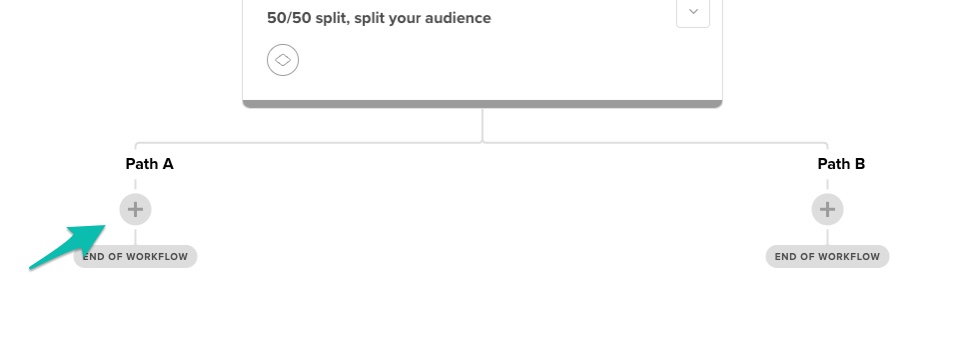
9. You can now set the percentage you want to split for each path.

10. Click on the Plus Sign on Path A of your newly created 50/50 split.
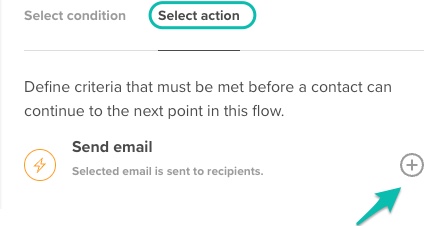
11. Select the action Send email.
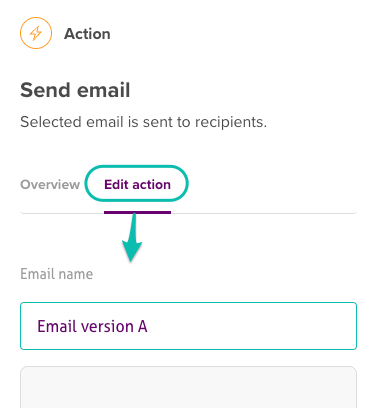
12. Click the Edit action to modify your email.
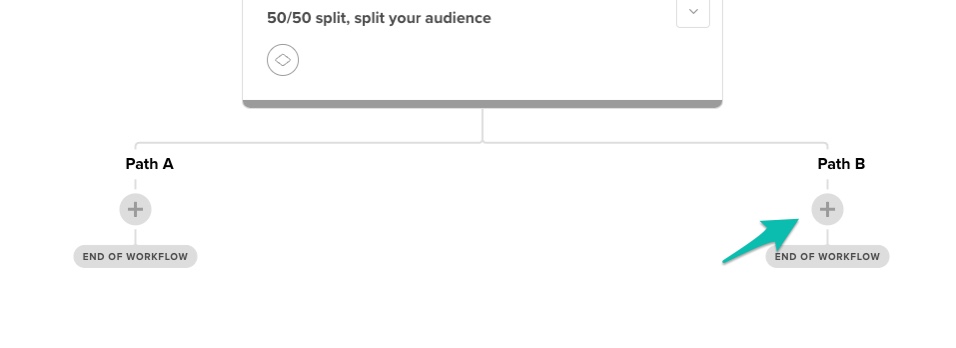
14. After editing the email in Path A, follow the same steps (12 and 13) for Path B.
15. Review your campaign and turn it on.

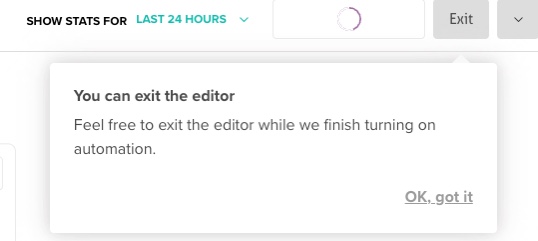
The split automation is now correctly set up; you can now exit the editor!