Using the automation tool, you can set up actions that automatically update a recipient's custom attribute when another step is taken, such as clicking on a link or opening an email. We'll show you how to do it in this article.
You can use this action to determine what path to take your subscribers during your onboarding process and create segments within your list. You can also add this to an existing automation in order to change a customer's attribute depending on a specific action in the flow.
Creating automation with branching conditions
Creating a contact list segment
How to create an automation with the update custom attribute action
1. In your account, click on the automation tab.

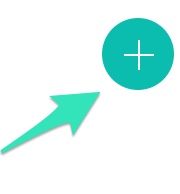
2. To create an automation, click on the+sign on the top right of the page.
Alternatively, you can create it from the Create button.
Understanding Email Automation
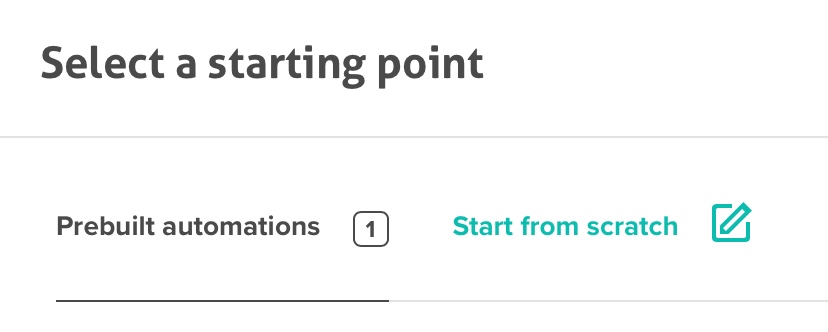
3. In the select a starting point menu, you can use the Prebuilt automation, create a new template from scratch, or use one you already saved.
4. Choose the list to which this automation should be linked.

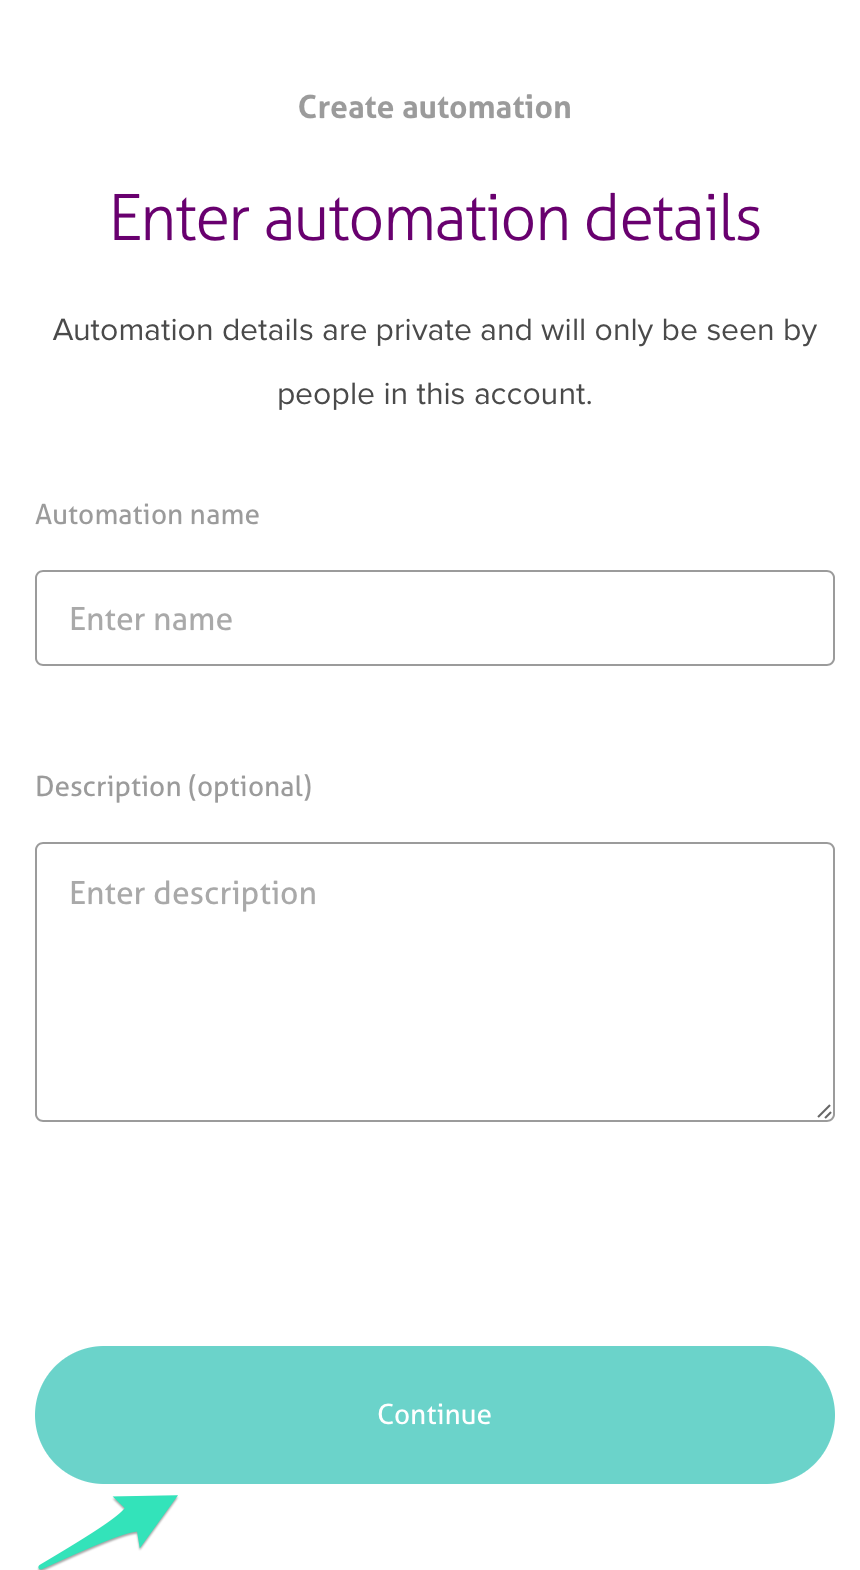
5. Choose a name for your automation (this name will only appear within the platform)
6. You can select a marketing objective from the list below (so we can make better recommendations for you).

7. You will then be on the Flow creation page. Click on the+sign to select the condition in the automation flow.
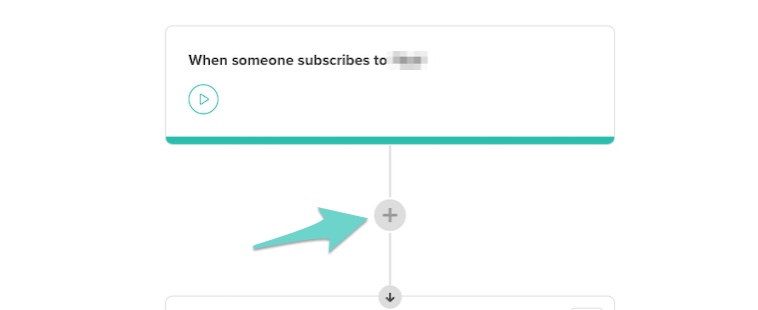
8. Add branching conditions.
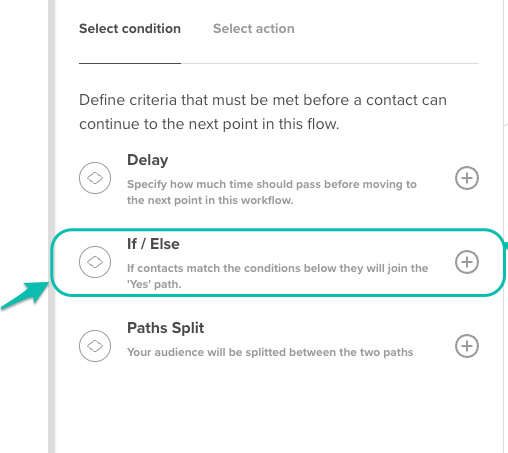
Creating automation with branching conditions
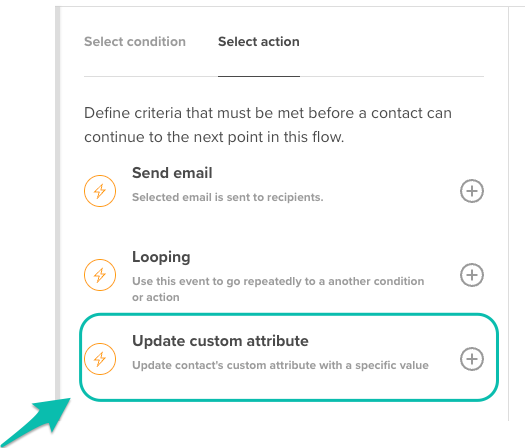
9. Add the Update custom attribute action.
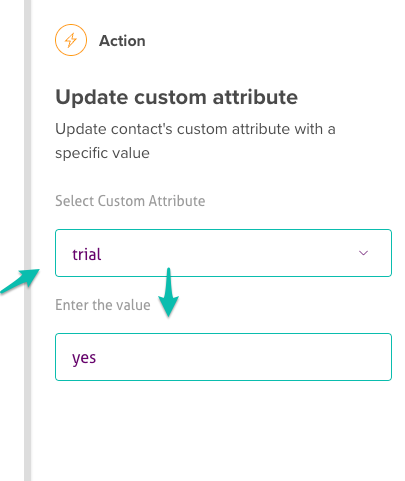
10. Select the custom attribute and specify its new value.
11. The determined attribute will be updated if the contact matches the branching condition.
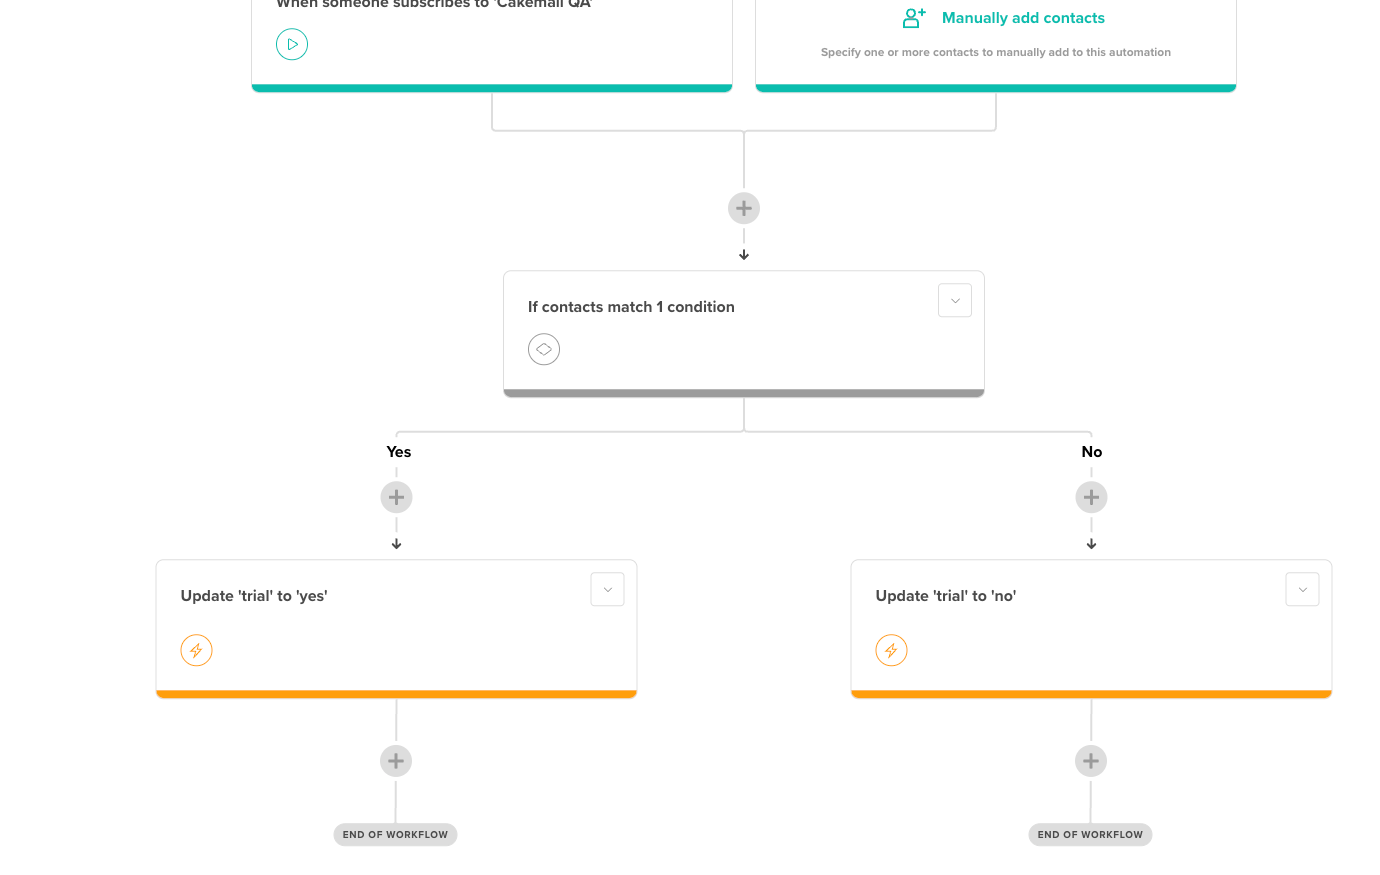
11. Review your campaign and turn it on.

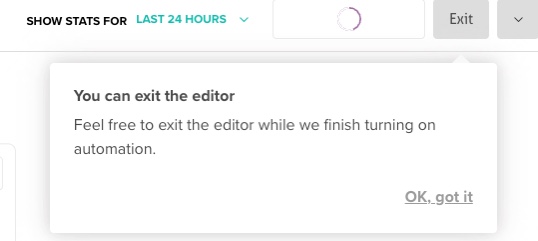
The custom attribute automation is now correctly set up; you can now exit the editor!
Use this function to create and follow customer journeys and use this information to create segments that will let you better target and personalize your campaigns.