A loop allows you to repeat an action several times. You can use this for various purposes, such as sending an unopened email three times to the same customer or sending it until it is opened. Additionally, it could send reminders about upcoming events or any other communication that requires repeated delivery. Lastly, looping can also be combined with different conditions and actions to reiterate them. We'll show you how to automate this with our app, which can be used according to your needs.
How to create a looping automation
1. In your account, click on the Automations tab.

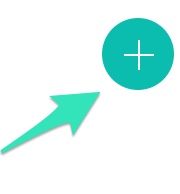
2. To create an automation, click on the+sign on the top right of the page.
Alternatively, you can create it from the Create button.

Understanding Email Automation
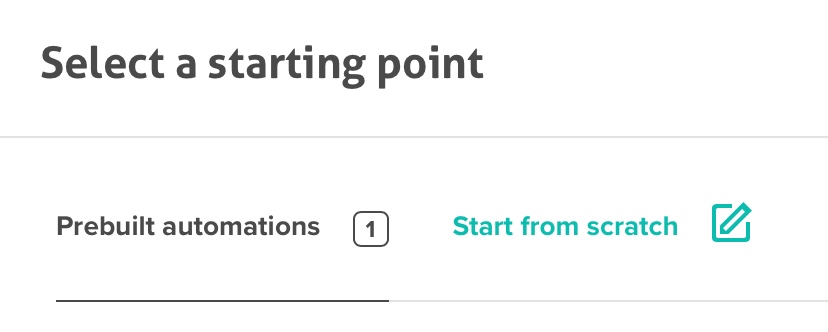
3. In the Select a starting point menu, you can use the Prebuilt automation, create a new template from scratch, or use one you already saved.

4. Choose the list to which this automation should be linked.

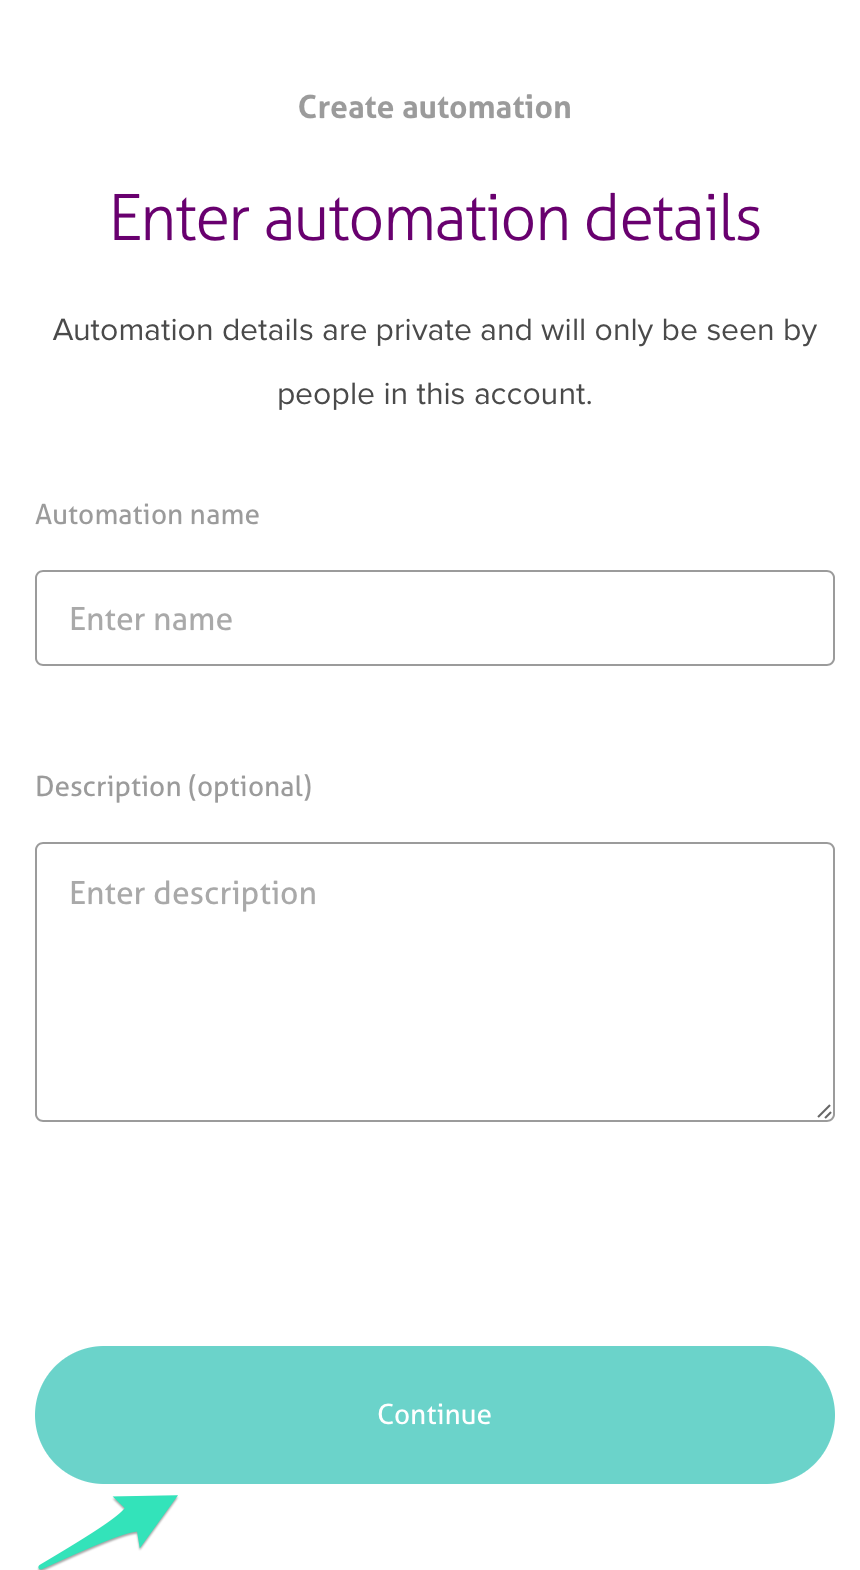
5. Choose a name for your automation (this name will only appear within the platform)

6. You can select a marketing objective from the list below (so we can make better recommendations for you).

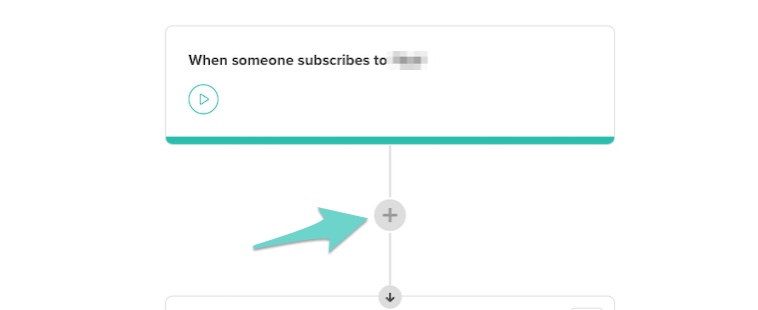
7. You will then be on the Flow creation page. Click on the + sign to create a new step and select the condition or action in the automation flow.

8. For this example, we'll create a looping email action. Choose the Send email option in the Select action tab.
9. Edit the email to your liking.
10. Click on the + sign to create a new step after the Send Email action in the automation flow.
11. In the select action tab, choose the Looping action.
9. Click on Select an event type and choose Send email.
10. Select the Loop repetition setting.
You can loop the email continuously or a specific number of times.
11. In the last Looping setting, set the delay between each repetition.
12. Click on Review and turn on to activate your automation.
Your looping automation is now activated! You should test it by subscribing to your contact list or adding a contact manually to the automation.