- Add your physical address in the email Designer
- Add your physical address in the HTML editor
Why this is important
Legally, this address must be provided for accountability purposes in order to identify the sender to the recipient. This can also help facilitate the opt-out process, preventing complaints and it will also help improve delivery. Learn more about it here.
Please note that in the Commission’s view, “mailing address” can be the sender’s valid, current street (or civic) address, post office box address, rural route address, or general delivery address and must be valid for a minimum of 60 days after the message has been sent.
Modify your physical address in your profile
A physical address must be included to schedule a newsletter in order to protect subscribers (and yourself). If the system cannot detect the merge field from the address in the campaign, it will add it at the bottom automatically. Furthermore, entering your company information is required when your account is created. Add it and edit it correctly as follows:
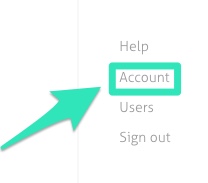
- 1. Select Account on the top right menu
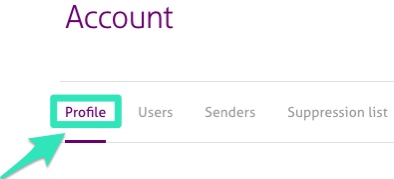
- 2. Select the Profile tab in the Account page
- 3. In the Profile options, click on the Pencil icon found in the right of Address (Required)
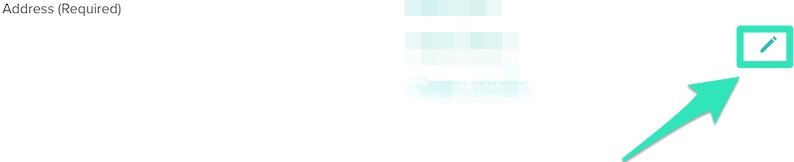
- 4. Update your address if needed and click save.
Add your physical address in the email Designer
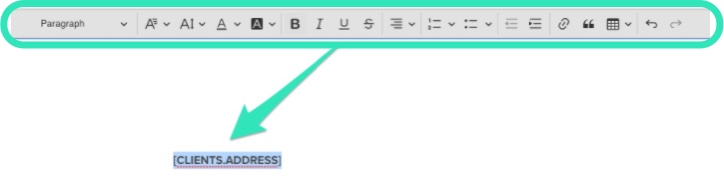
You can add [CLIENTS.ADDRESS] where you want the address to appear in your campaign. Your company address will be pulled from the Company profile page. It will then be possible to edit the [CLIENTS.ADDRESS] field with the font, color, and police.
Here's how you do it:
- 1. Select Campaigns.

- 2. Select your campaign email template.

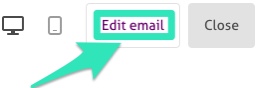
- 3. Select Edit email.
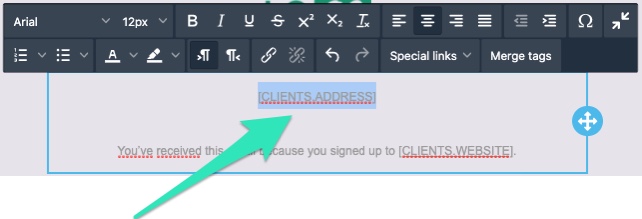
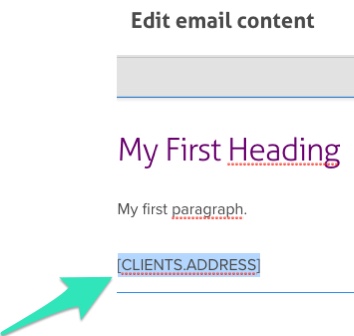
- 4. Type [CLIENTS.ADDRESS] where you want your physical address to appear and personalize it with text color, size, etc.
- 5. Alternatively, you can add the physical address field with the option Merge tags and the selecting Full Address.
You will be able to see the result on the next page, where you can schedule the campaign.
Add your physical address in the HTML Editor
By selecting the option "start from scratch", you can create your template from your own HTML code. To properly add the physical address with this option, follow these steps:
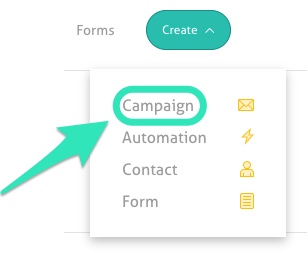
- 1. Select Create on the top menu.
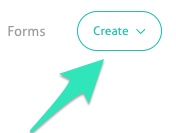
- 2. Click "Campaign" in the new menu that appears.
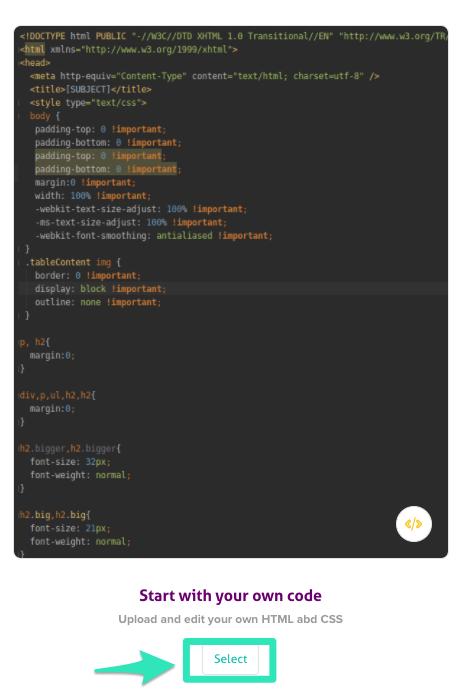
- 3. Select the tab Start from scratch

- 4. Click Select below the option Start with your own code
- 5. Paste/write your code on the left part of the page.
- 6. On the top right, click on Upload and edit.

- 7. Type [CLIENTS.ADDRESS] where you want your physical address to appear and personalize it with text color, size, etc.
- 8. Highlight the physical address field.
- 9. You can edit the physical address field with the menu on top.