This can be accomplished by adding attributes to the mailing list and grouping people by shared characteristics like location, gender, and age, for instance, which can affect the email content's display for each recipient. In this article, we'll focus specifically on how to configure your blocks' display conditions based on the recipient's attributes.
Why this is important
Dynamic email content provides subscribers with a more personalized experience. The trend today is for users to willingly share personal data with brands in exchange for a highly personalized user experience. By taking this approach, you can improve your user engagement, build long-lasting relationships with your audience, save time, and therefore increase revenue.
How to implement display conditions in your campaign
Adding display conditions to your list is as easy as following these steps:
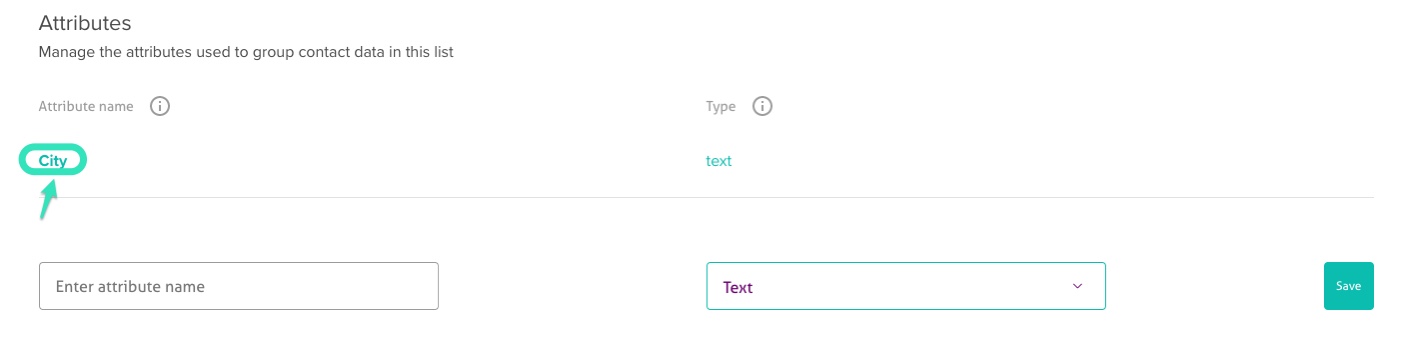
- 1. Add an attribute to your contact list. For more information about adding attributes to your list, check out our
- 2. Select the Campaigns tab.

- 3. Click Edit email in your campaign's menu. (Alternately, you can start by

- 4. Click Edit email in the email preview tab to access the email designer.

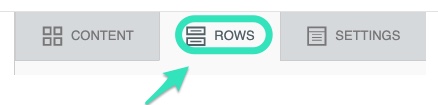
- 5. Select the Rows menu section in the email designer.
- 6. Drag a Row into the email content and select it.

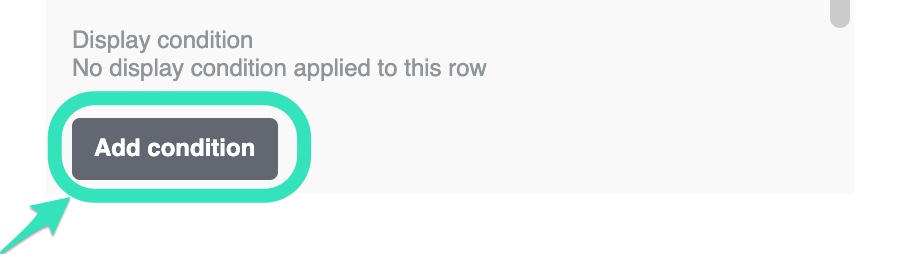
- 7. Select Add condition in the Row properties menu.
- 8. Configure your display condition in the menu that appears.
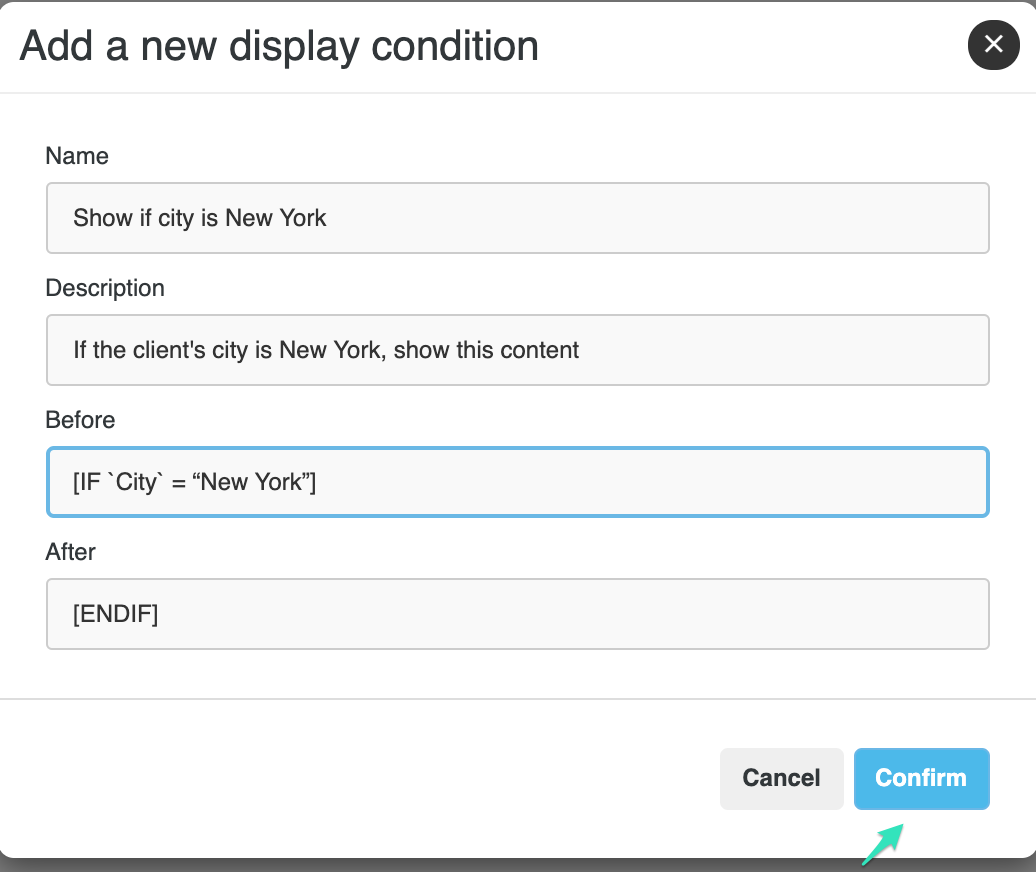
- Set the following fields.Name: Provide a name for this display condition.Description: Describe what your display condition will do. In this case, the block will appear for the client whose City attribute equals New York.Before: In this specific case, add the code[IF `City` = “New York”]New York is the text associated with the attribute City. An attribute can be gender, age, country, etc.After: Enter the code[ENDIF]
- Set the following fields.
- Name: Provide a name for this display condition.
- Description: Describe what your display condition will do. In this case, the block will appear for the client whose City attribute equals New York.
- Before: In this specific case, add the code[IF `City` = “New York”]
- New York is the text associated with the attribute City. An attribute can be gender, age, country, etc.
- After: Enter the code[ENDIF]
- 9. Click on Confirm when you have finished the configuration.
- 10. Preview the display condition by selecting the eye icon.

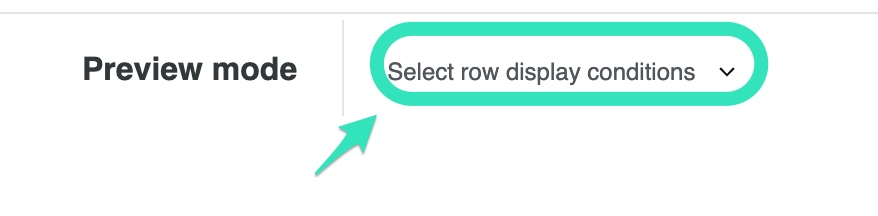
- 11. Select your row display conditions from the drop down menu in Preview mode.
The display condition has been set!
It will be displayed in the Row properties menu.

With the help of this tool, you are able to enhance your content further and optimize its use. You can tailor your content to fit the needs of your clients by using it strategically.