You can use this in several different ways
Maintaining a consistent brand image so your recipients recognize your name is essential. In order to accomplish this, you should arrange a neat image and files library to be used repeatedly. Just be mindful of not overloading your content with images. For more on that, check out this article.
Add your files
The procedure to add files to the File Manager is as follows:
- Select Campaigns

- Select Edit email in the campaign bar.

- In the Email preview section, select Edit email.
- In the Content menu, select IMAGE and drag the button to the email content.
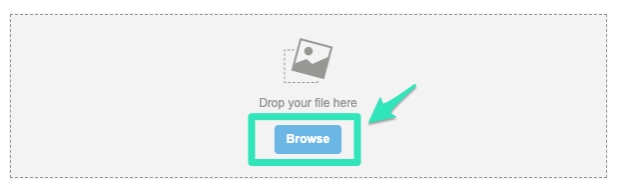
- Click Browse.
- You now have three options for adding files, you can either Upload, Import or Browse from the free photos selection. Click on Upload and the select your file.
Your file is on our FIle manager now and can be selected from there. Currently, you can only upload one file at a time (no FTP is available)
To link to the file in your campaign:
Click the link button in the section you want to include your file with. Use the URL type drop down menu, choose File Manager and select the file you uploaded earlier from your library.
The file is now linked inside the email. Recipients can access it by clicking on the link.
Type of files accepted
The maximum image size is 1600px by 2000px; the maximum file size is 1MB. The following formats are accepted:
- bmp
- gif
- jpeg
- jpg
- png
- 7z
- aiff
- asf
- avi
- bmp
- csv
- doc
- docx
- fla
- flv
- gif
- gz
- gzip
- jpeg
- jpg
- mid
- mov
- mp3
- mp4
- mpc
- mpeg
- mpg
- ods
- odt
- png
- ppt
- pptx
- pxd
- qt
- rar
- rm
- rmi
- rmvb
- rtf
- sdc
- sitd
- swf
- sxc
- sxw
- tar
- tgz
- tif
- tiff
- txt
- vsd
- wav
- wma
- wmv
- xls
- xlsx