Companies use market segmentation to target different categories of consumers who view specific products and services in different ways according to their preferences and other characteristics that can be detected.
Why this is important
You can tailor your lists according to your needs using various segmentation methods such as geographic, demographic, and behavioural segmentation. Find out which campaigns will most likely earn a great response from a target market and the best ways to brand and deliver those emails. As a result, the marketing effort can increase its efficiency.
How to create a segment
To create a new segment from within a list:
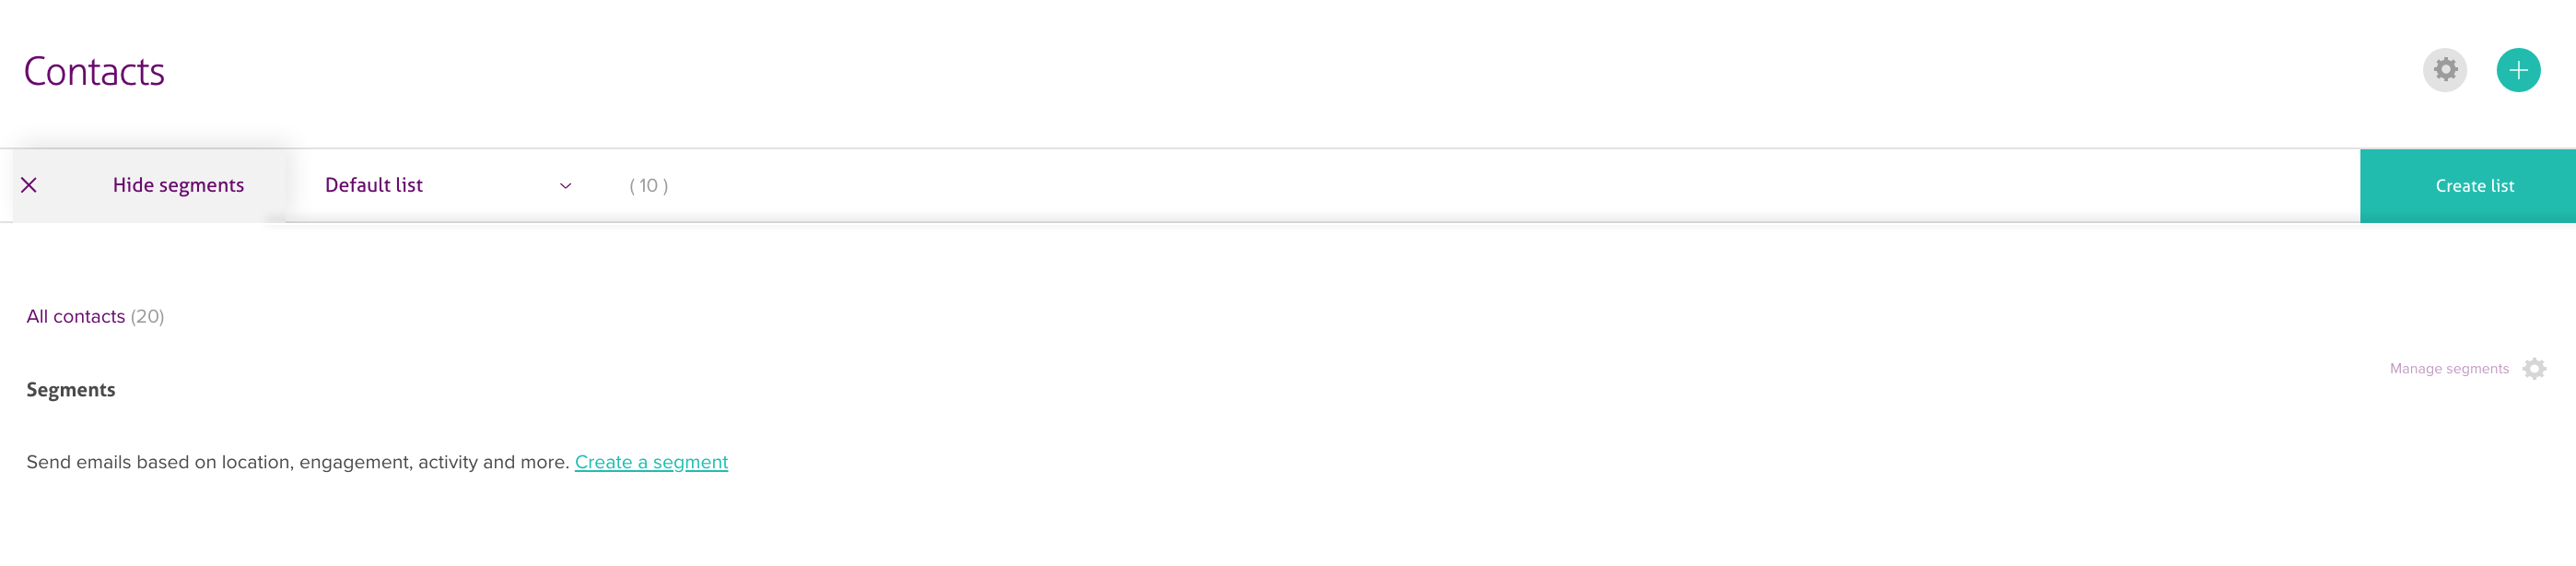
- 1. Select the Contacts tab.

- 2. Choose your list.
- 3. Select the option Create segment.
- 4. Your segmentation conditions can be defined here. The first thing you need to do is name your segment.
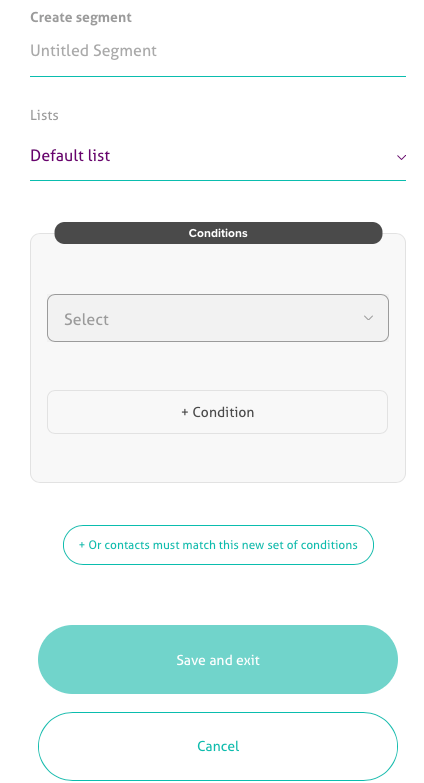
- 5. You can segment your list based on the conditions you choose.
- Contact Id: The Id number that is automatically assigned to contacts. According to their addition order, they are numbered from 1.
- Email address: The address of your contact.
- Added date: You can set rules based on the date your contacts were added. For example, before, after or on a specific date.
- Email activity: Your contacts can be sorted by their email activity. For instance, when they received emails, what emails they opened, and which recipients clicked on the email.
- Click activity: You can sort your contacts based on what email links were clicked.
- Custom Attributes: You can add attributes based on your segmentation preferences.

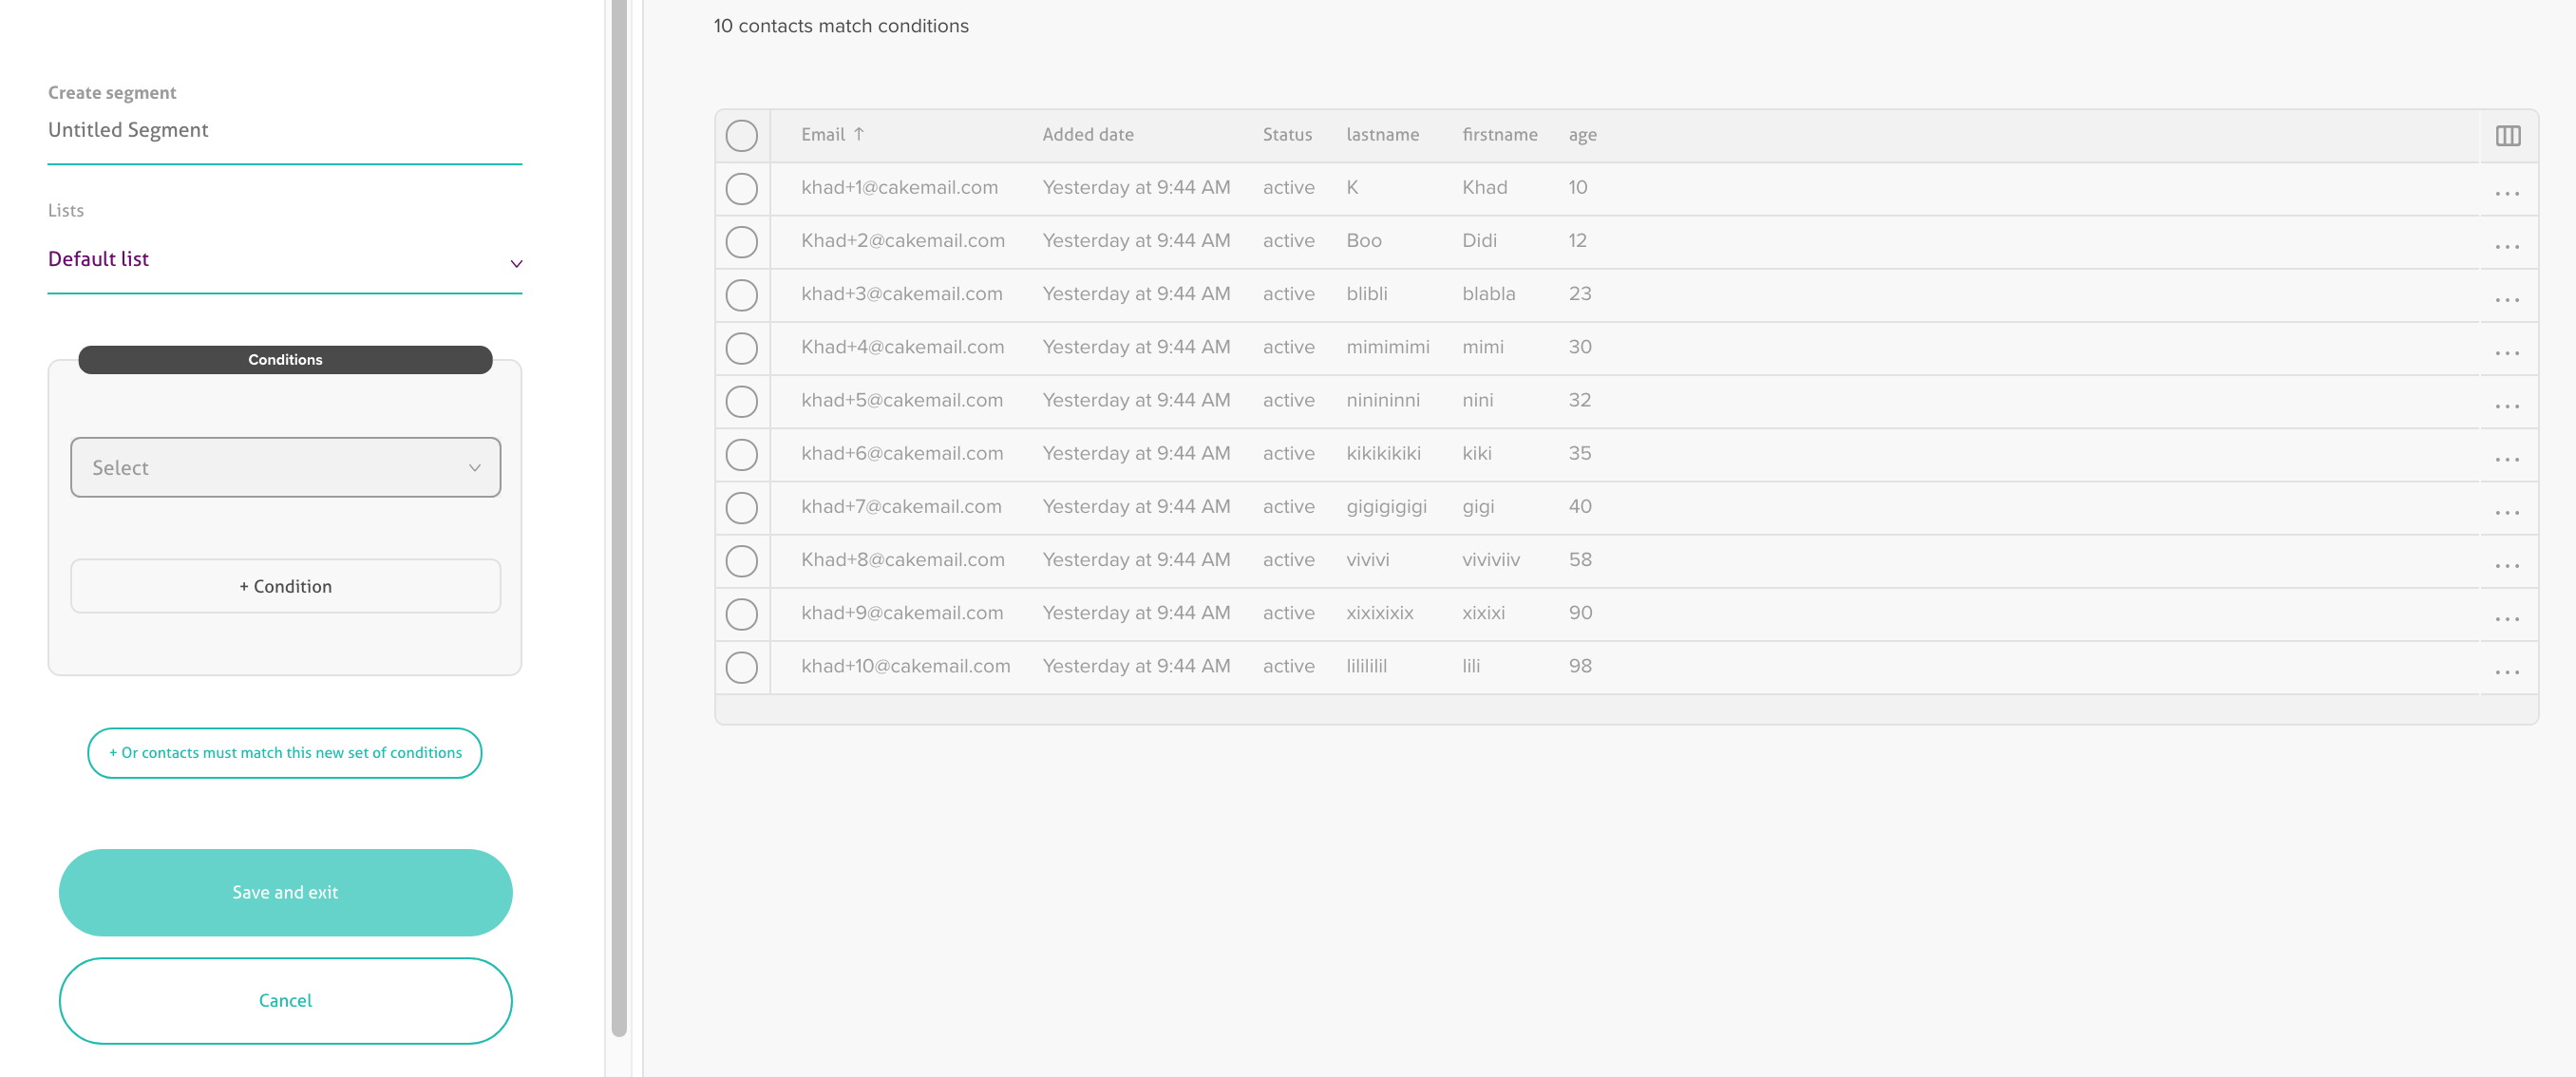
- 6. You will see the total number of recipients on the list displayed next to the segment name when you create your segment.
Remember:
- You may apply as many criteria or rules as possible to a group.You may create as many groups as you want for any given list. This will help you separate and target users accordingly.If you create groups based on a “Date” format must be: YYYY-MM-DD
- You may apply as many criteria or rules as possible to a group.
- You may create as many groups as you want for any given list. This will help you separate and target users accordingly.
- If you create groups based on a “Date” format must be: YYYY-MM-DD
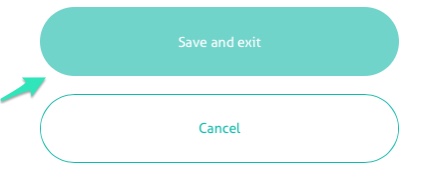
- 7. When done, click on Save and exit.
- 9. After the group has been successfully created, you will see it available under your contact list. You can also edit the group name and rules and view the number of subscribers by selecting VIEW ALL SEGMENTS.