Find out how to upgrade your account.
Why this is important
By building a good, detailed contact list, you will not only be able to distribute campaigns easily and safely, but you will also be able to keep track of the statistics they provide in comparison to your other lists.
How to create a new list
To create a new list, follow these steps:
1. In the dashboard, select the Contacts tab.

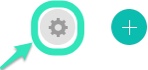
2. Click on the cog wheel on the right side of the page.
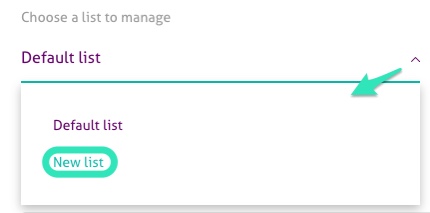
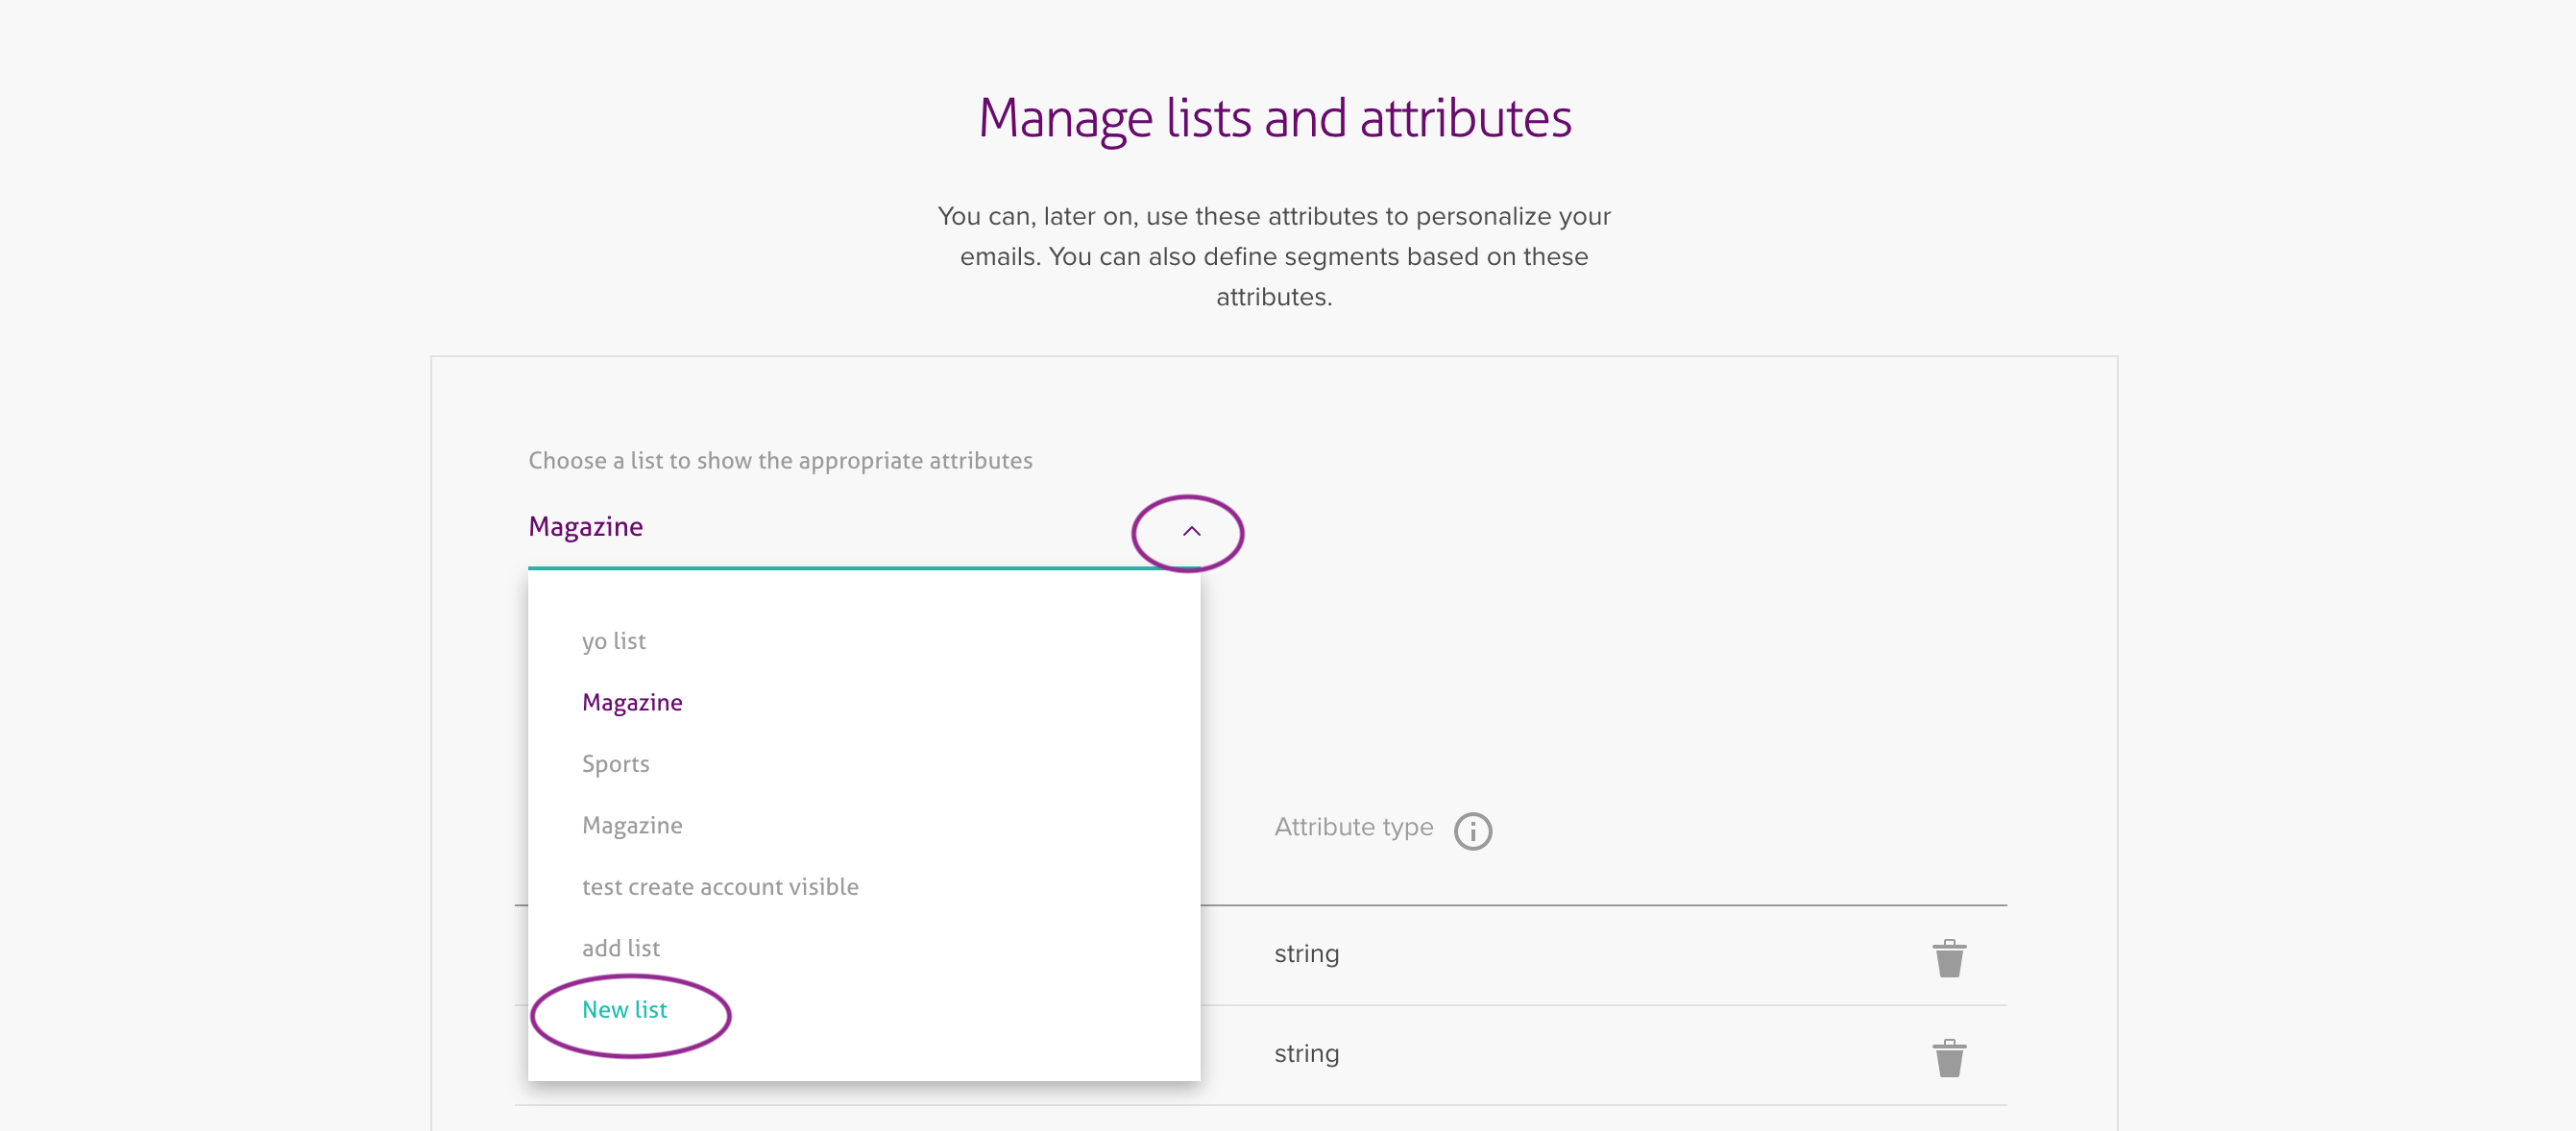
3. In the option to choose a list to manage, click the small arrow to display a drop down menu.
4. In this menu, select New list.
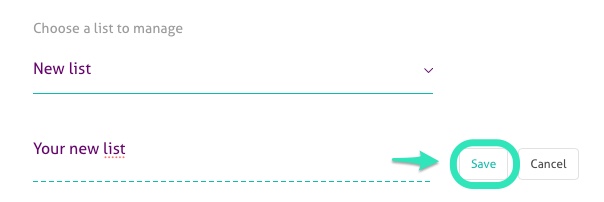
5. Click on it and then, you will be able to name your list.
6. After naming your new list, click on Save.

7. Select the Attributes tab to manage the list's attributes. See how to add one to a list here.
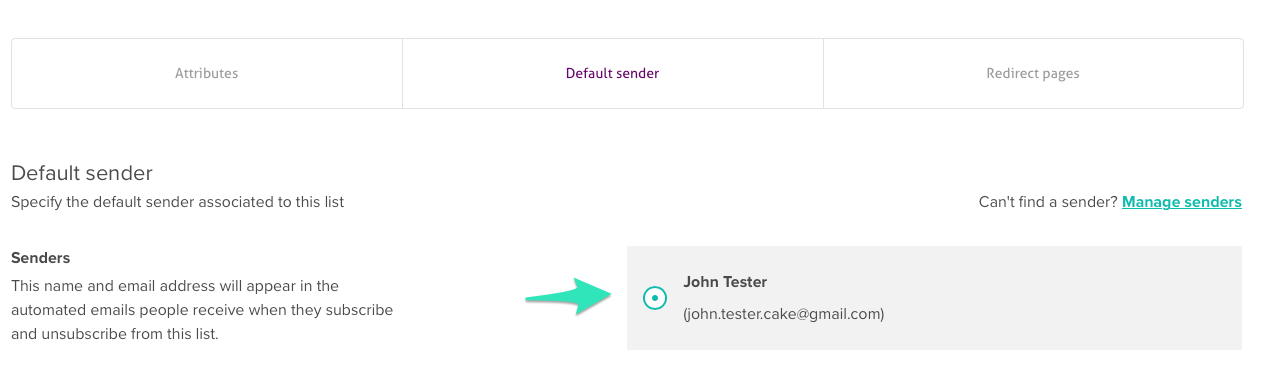
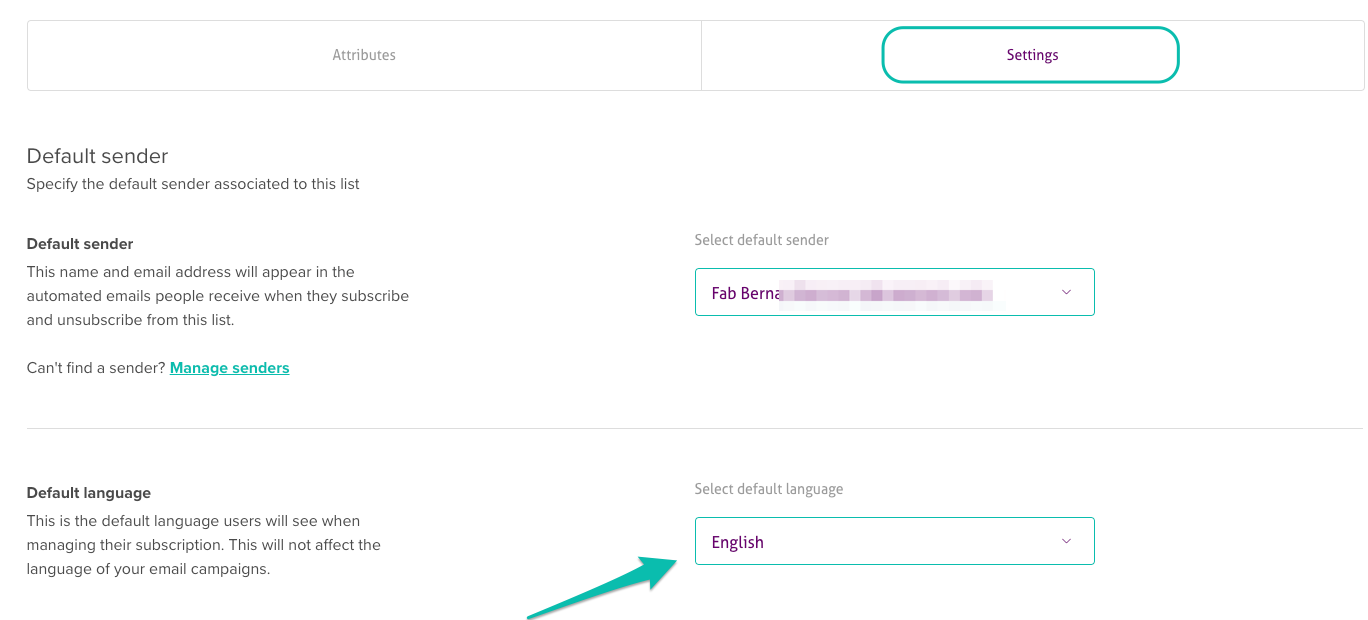
8. Select the Default sender tab to specify from which address this list should be sent by default.
9. Select the Settings tab to set the Default language for the list.
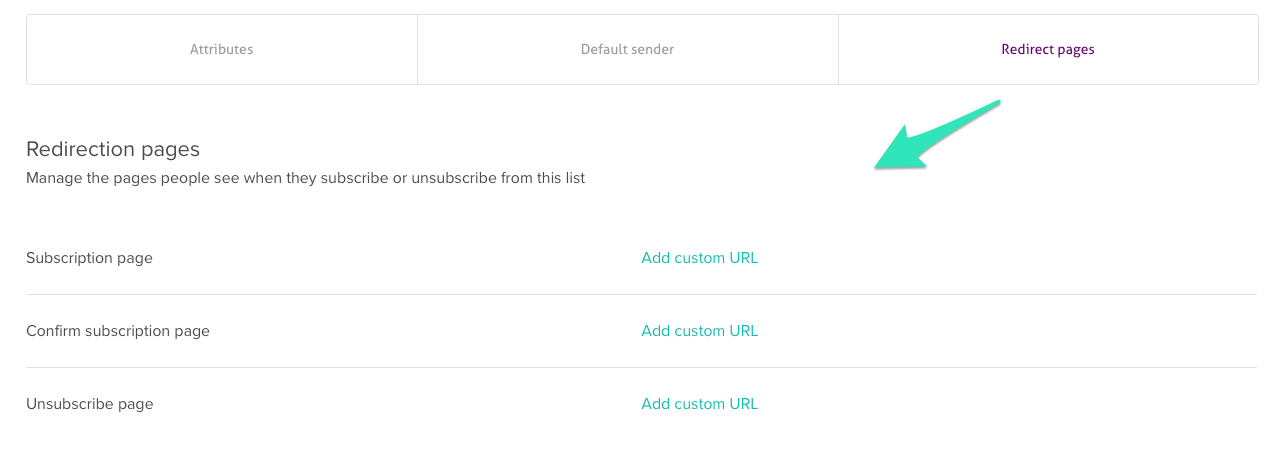
10. Select the Redirect pages tab to change the page that people see when they subscribe or unsubscribe from this list. You do this by adding a custom url.
11. When done, click on Save.
Duplicate emails
Please note that multiple lists can have the same email address. It is important to note that a contact who is active in, for example, five lists will count as five contacts, within your total of contacts, we advise using just one list per language: this helps you keep all the information from your contacts (history, campaign received, click, etc.) in one place, so that you do not have to pay multiple rates. Segmentation in your list can help avoiding this. Learn how to segment here.